Butterfly Inlay
By ShaperA|BY-NC-SA 4.0 License|Updated June 26th, 2020
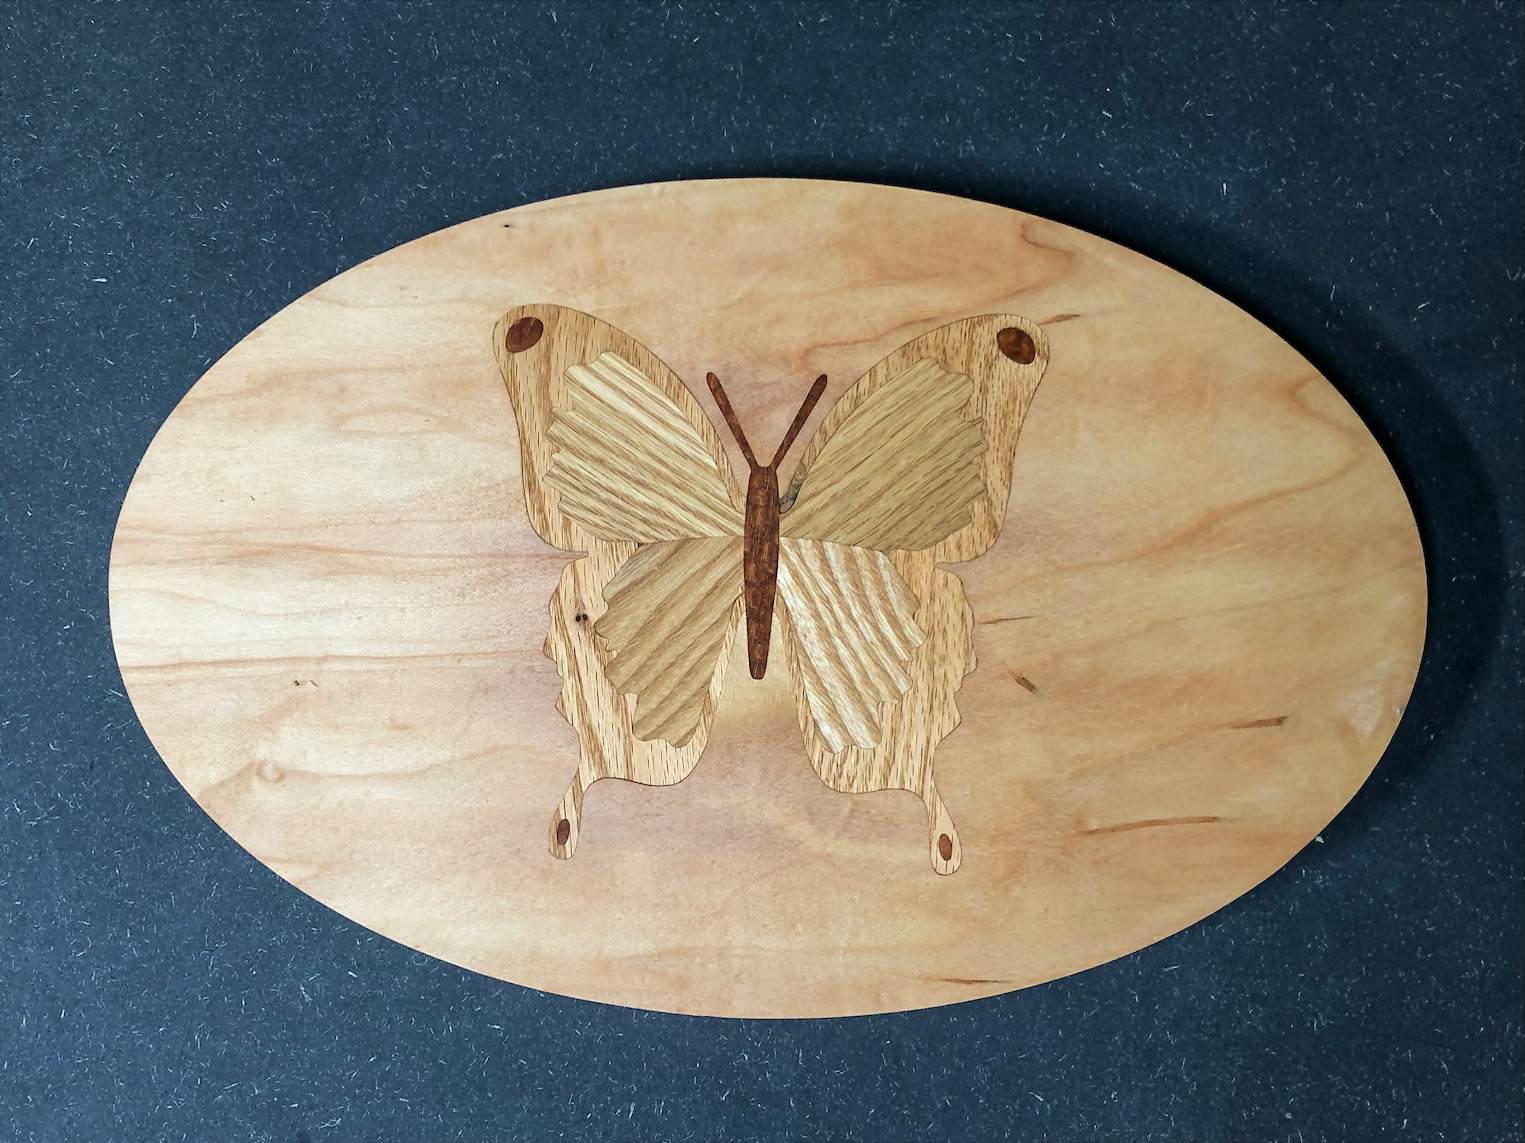

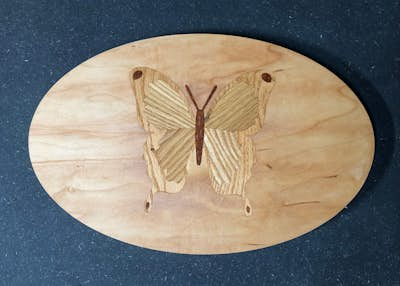


A beautiful butterfly inlay project
2 hr
Advanced
25
Files included (6)
1/2" =< Base
1/8" inlay pieces
Pictured:
Body and Spots: Lace Wood
Greater Wings: Red Oak
Inner Upper Wings: White Oak
Inner Lower Wings: Ash
Base: 3/4" Maple Ply
1/16" Bit
1/4" Bit
Cutting Inlay Pieces:
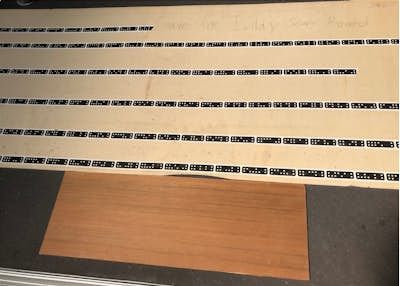
Start with 1/8'" stock and secure with double sided tape to spoil board.
for best results, Shaper Tape and stock should be at same height. Its best to place Shaper Tape on an "Inlay Board" made out of 1/8" ply and secure adjacent to stock. This will create a flat plane and be reusable for all future inlay cuts. (see picture)
Cut each inlay piece with 1/16th" bit, make first cut with 0.01" offset before your finishing second pass.
Pocketing Stock:
Start with cutting full outline with 1/16" bit with 0.01" offset at a 0.12" depth, then switch to pocket cut and remove all material. To save time, it is best to switch to 1/4" bit for pocketing. Finally, complete finishing cut with 1/16" bit.
After finishing pocket cut, insert Greater Wings piece first.
It is best to prep inlay and stock edges by hand sanding a slight taper. This helps the pieces sink together better. If the pieces are still too tight, cut the stock outline again with a -0.005 offset.
When inserting, make sure to apply health amount of glue to both sides and covering all edges. A strong connection will reduce the possibility of tear out during following cuts.
After each inlay step, sand surface flat to maintain accuracy.
after completing Greater Wings, Repeat pocketing and inlay steps for inner upper and lower wings and spots.
Finally, pocket and inlay body.
Allow 24 hours in between steps to ensure glue has set up before cutting again.