Cleat of the Week 4: Post-It Note Holder
By Shaper|BY-NC-SA 4.0 License|Created May 2nd, 2018
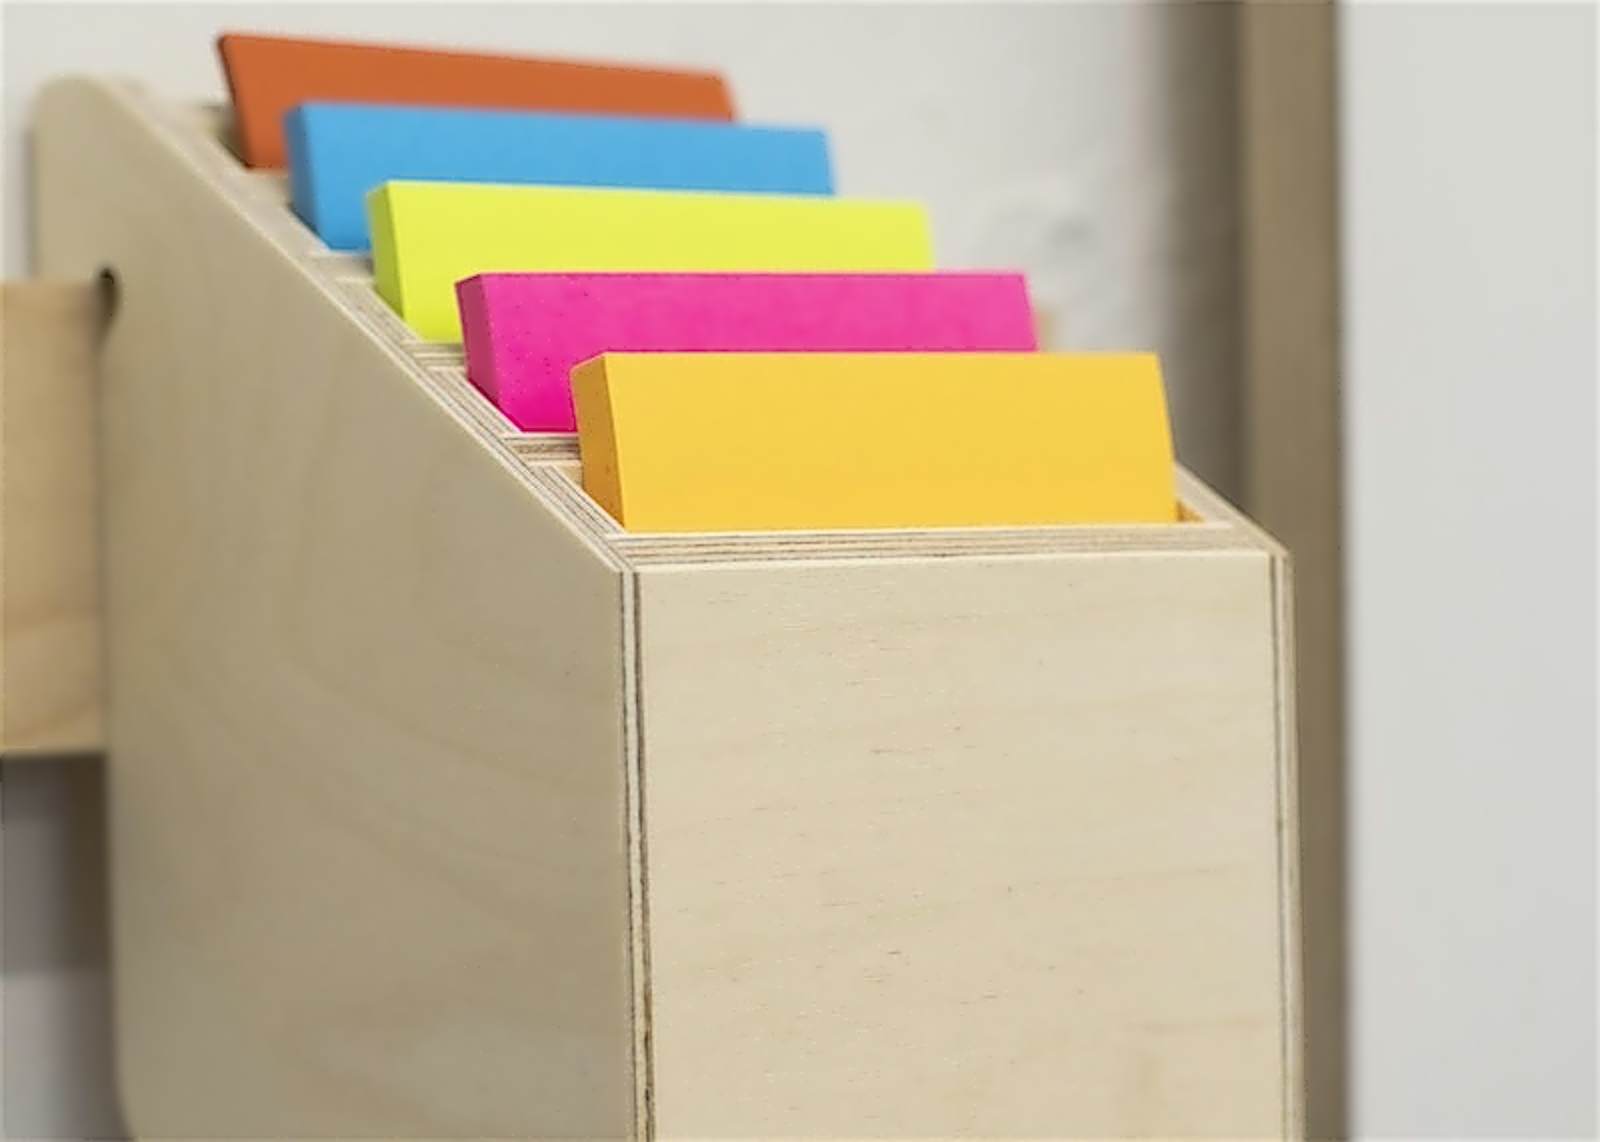

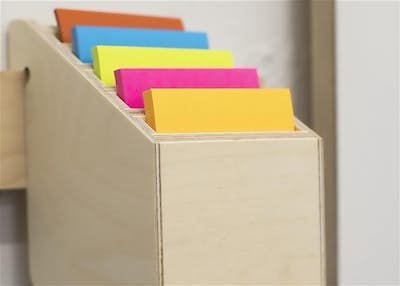

Post-It Note Holder, for use with French cleat. Holds five 3x3" Post-It pads.
20 min
Easy
26
Files included (2)
Plywood:
- 1/4"-thick, high-quality (e
g
multi-ply or euro-ply)
- area of at least 13" x 11" for components, plus area in front of layout for ShaperTape
- Spoil board recommended
- double-sided tape for material hold-down (recommended: Intertape 591 Premium)
- Shaper Origin
- Cutter: 1/4-inch up-cut spiral
- Sandpaper
- Wood adhesive
- clamps
Optional:
- powered sander
- miter saw
Firmly Secure workpiece:
Firmly secure workpiece material to spoilboard using double-sided tape. Keep in mind the approximate locations of the components that you are cutting out, to make sure they will be properly taped down once you have completed cuts around them. Alternatively, you can leave a couple tabs on each piece to allow you to remove them safely.
ShaperTape:
Apply ShaperTape, scan, and place the design file. To save yourself cutting time, use a rectilinear piece of material and place a grid on the workpiece. Then place the file, aligning it with the bottom and side of your workpiece.
Cut slots (inside cuts) FIRST:
- Cutter: 1/4“ upcut
- Depth 0.125” (3.18mm)
Cut out shapes (outside cuts):
- Cutter: 1/4“ upcut
- Depth 0.26” (6.6mm) (or whatever depth is sufficient to cut clear through your workpiece)
- Start from nearest edge of your workpiece and work toward top, in order to optimize your tape
Sand:
Lightly sand the surface of all the components to free the edges from fuzz.
Remove components:
Pry / peel components free from spoil board.
Dry fit:
Test-assemble all the components together. The shorter sides of the divider pieces are inserted into the slots in the side panels.
OPTIONAL mitered edges (for a cleaner look):
- Once you have dry-fit all the pieces together, use a pencil to lightly mark the five equal-sized divider components and the front panel component.
- Disassemble your dry-fit.
- Using miter saw, perform 30-degree angle cuts from the five equal-sized divider components and the front panel component. Pay attention to the orientation of the dividers when you reassemble the holder; use the pencil marks from above step as a reference.
- Dry-fit again to confirm fit.
Glue-Up:
- Disassemble the dry-fit components.
- Carefully apply a small bead of wood glue in each groove in the side panels
- Select one side plate to work with first. Insert the five divider panels, the front panels, and floor panel.
- If you mitered the edges, align the divider edges so that they are flush with the edge of the side plate.
- Leave this partial-assembly on table. Pick up the side panel, invert, and carefully align slots into the panel edges. This step involves some patience to align all the panels into their corresponding slots. Once aligned, push down and perform final visual alignment. Note that it is not a requirement that the divider panels actually touch the floor panel. Especially if using the mitered edges, it is more critical that those edges visually align flush with the edges of the side panels.
- Clamp assembly in place. Wipe excess wet glue, and keep clamped until glue fully cures.
Sanding and finishing:
Either hand or machine sand to final desired finish level. Leave uncoated, or paint/stain/finish as desired.