Cleat of the Week 2: Drill Rack
By Shaper|BY-NC-SA 4.0 License|Created May 1st, 2018
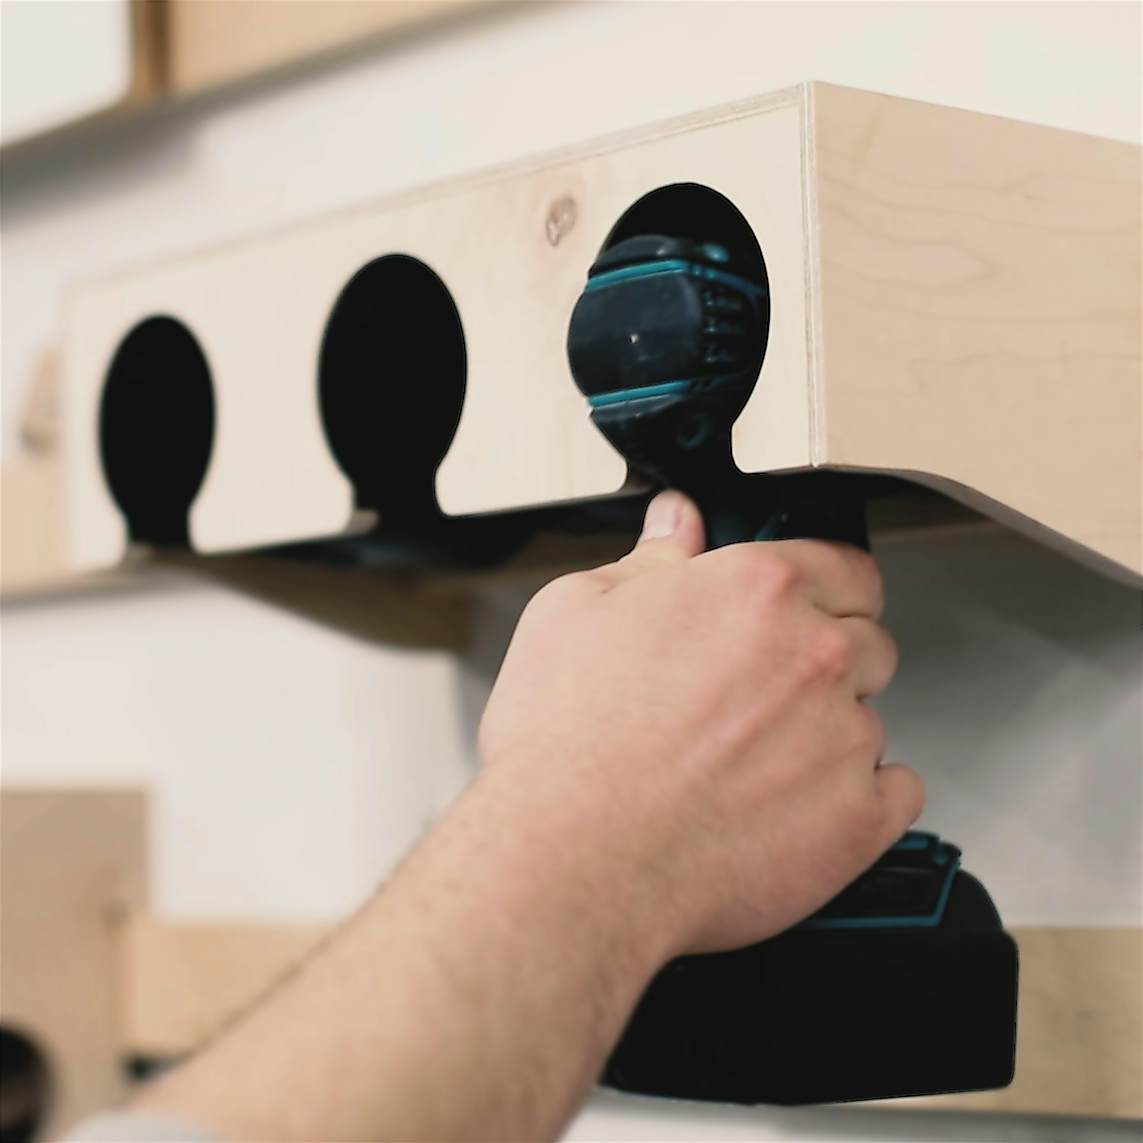

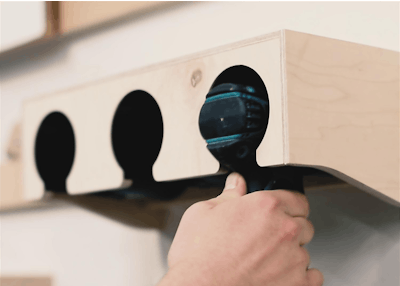

Designed to accommodate Makita 18v LXT drills and impact drivers, with a little shelf up top for spare batteries or a charger.
Note: The instructions here assume a basic knowledge of Origin
45 min
Intermediate
138
Files included (8)
1/2" Baltic birch or similar ply, 3" black ABS pipe
Origin, 1/4" stock cutter, long flute length 1/4" cutter, clamps, double-sided tape
Prepare Panel
Use double-sided tape on the good side of a 1/2" thick ply panel. Try to target an area measuring about 2 ft square.
Flip the panel and press it firmly onto the spoil board protecting your workbench.
Apply ShaperTape across an area measuring about 3ft x 2ft.
Scan and we are ready to go.
Cut Top Panel
Cut the slots to a depth of .25".
Then cut out the perimeter of the top panel.
Cut the Left and Right Side Panels
Cut the pockets first to a depth of 0.25".
Cut the perimeter of each shape.
Cut front and back panels
Cut the circular slots for the ABS first. Cut to a depth of 0.4" in multiple passes, leaving 0.1" of material to hold the ABS in place.
Then cut out the perimeter of each shape.
Round Over the Lower Edge of the Rear Panel
Use a regular trim router and a 1/8" radius round-over following bit.
Round over the lower edges of the rear panel.
Note: This step is just an alternative to using dogbones or chiseling square the rear corners.
Cut ABS Pipe Into 5.7" Sections
Check that the cuts are square and perform a dry fit to confirm that all components fit together cleanly.
[Optional:] Once you have confirmed the dimensions of the ABS, you can run coarse sandpaper over the outer edges to rough them up and give the glue a better adhering surface when assembling
Cut Two ABS Supports From 1/2" Ply
These just hold the ABS in place while we cut the opening in the bottom.
Cut the circle to hold the ABS. Using an Inside Cut, cut at a 0.25" depth and then test fit the ABS
You want a firm fit to prevent it moving during the ABS cutting operation.
Prepare to Cut ABS
We will be resting a panel of ply above our fixtured ABS pipe and cutting the hole through both.
Start by taping a panel of ply measuring about 1' x 2'.
Align the Panel square with the front edge of the ABS support panel and clamp it in place.
Find the center of the ABS and place a mark on the top ( see image )
Cut ABS
Place the plastic_slot.svg file oriented as shown 1/4" from the edge (this will align with the edge of the ABS nested in its support piece)
Center the alignment mark with the center of the abs pipe. and clamp the ply down to lock it and the ABS supports in place.
Cut through the ply, then continue to cut through the ABS.
Depending on the thickness of the ply panel you have on top, you may need a cutter with longer cutting flutes
Repeat with your other two lengths of ABS.
Dry fit
Confirm that the ABS is the right length to be held in place but not prevent a clean glue up.
Note: the roundovers enable our rear panel to fit in place.
Glue / Clamp / Sand / Mount
Everything should glue together intuitively.
Be careful not to distort the front panel with excess clamping pressure.
Sand and enjoy.