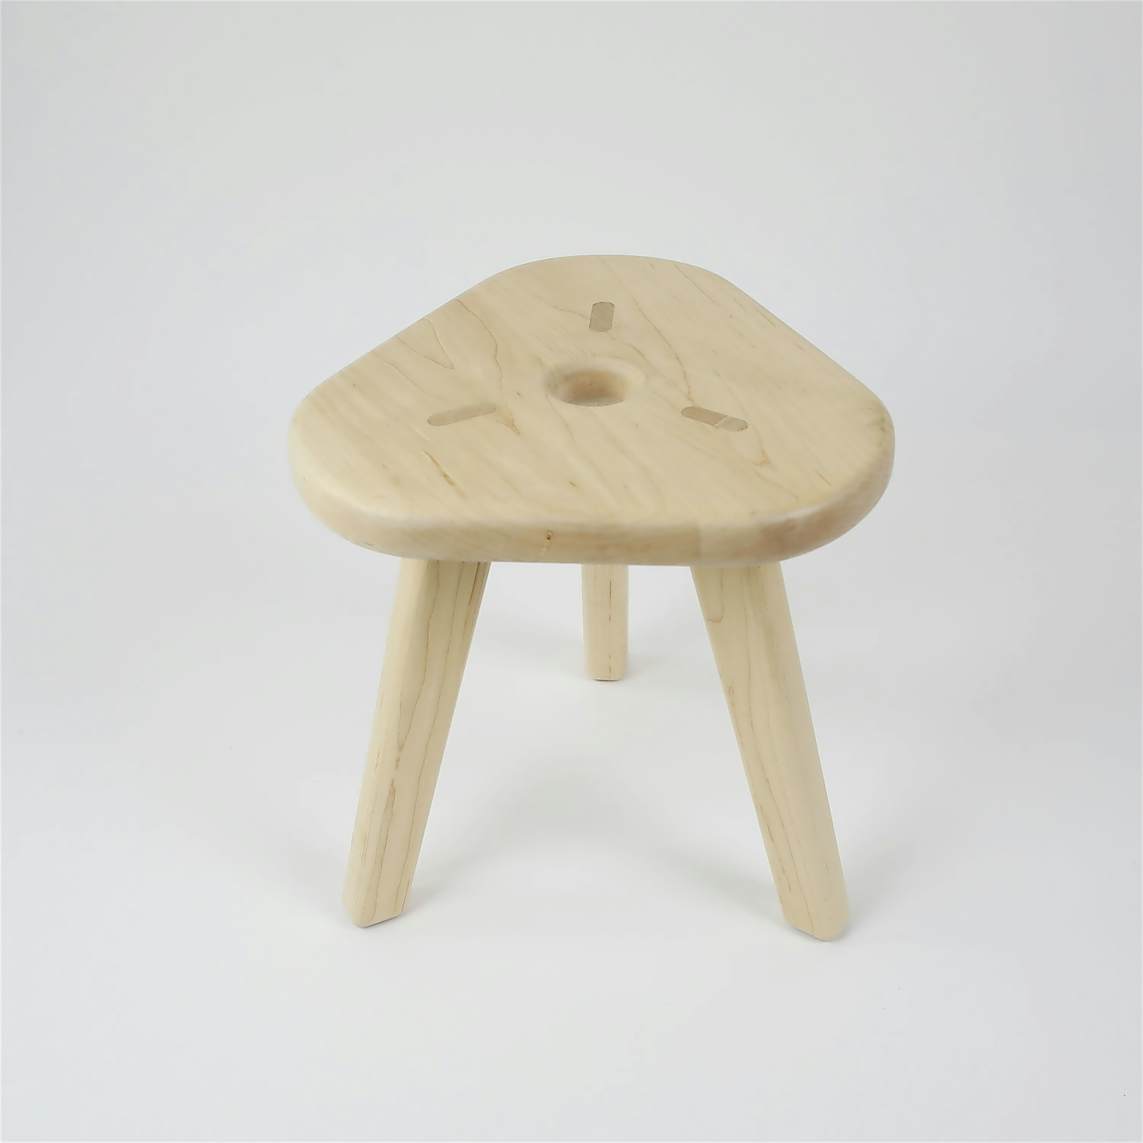
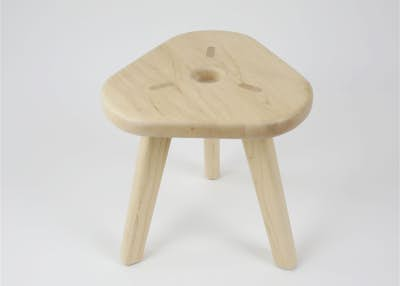
Tripod Stool
By Shaper|BY-NC-SA 4.0 License|Updated November 10th, 2022


3 hr
Advanced
132

Pre-requisite for this design
This project is designed to integrate Origin with other equipment in your shop. The steps in this project will be split between several different tools. Understanding and mastering hybrid operations with Origin will help to expand the overall capability of your shop.
Note: Though we won’t be going into detail about it, it is possible to use Origin for all of the through cuts on this project. In order to do so, you would need to buy a bit capable of cutting thicker materials. Make sure the bit has a length of cut greater than or equal to 1.25 in. Check out the options below:
2-flute Carbide DeepReach - 1/4 in. (0.250 in.) shank
Solid Carbide Spiral Flute-UpCut
Prepare your Material
This project requires two pieces of stock. The leg blank should measure at least 6.5 in. wide x 16 in. long. The seat blank should measure at least 15 in. x 15 in. square.
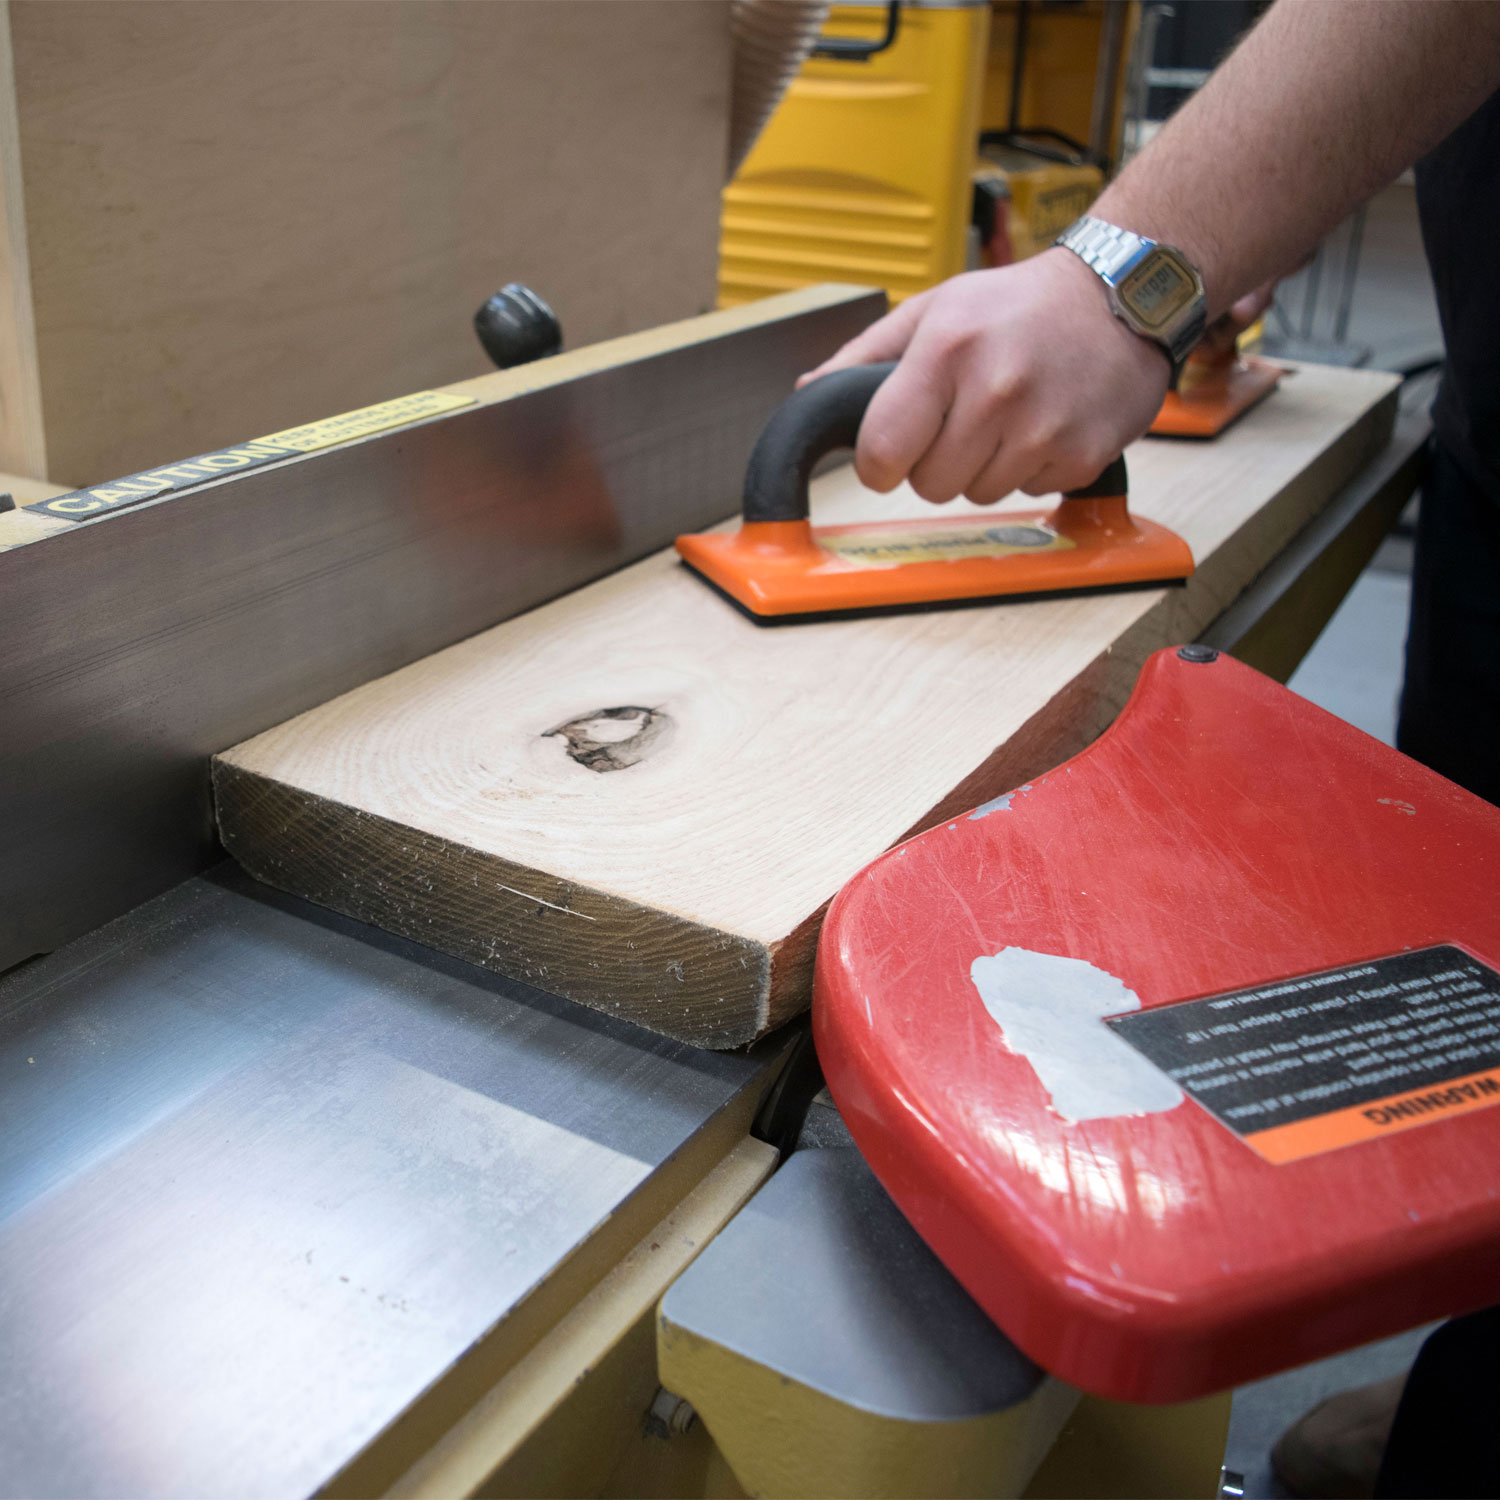
The stock should be 1.25 in. thick, flat and square. You may be able to source, this but more likely you will need to make it yourself.

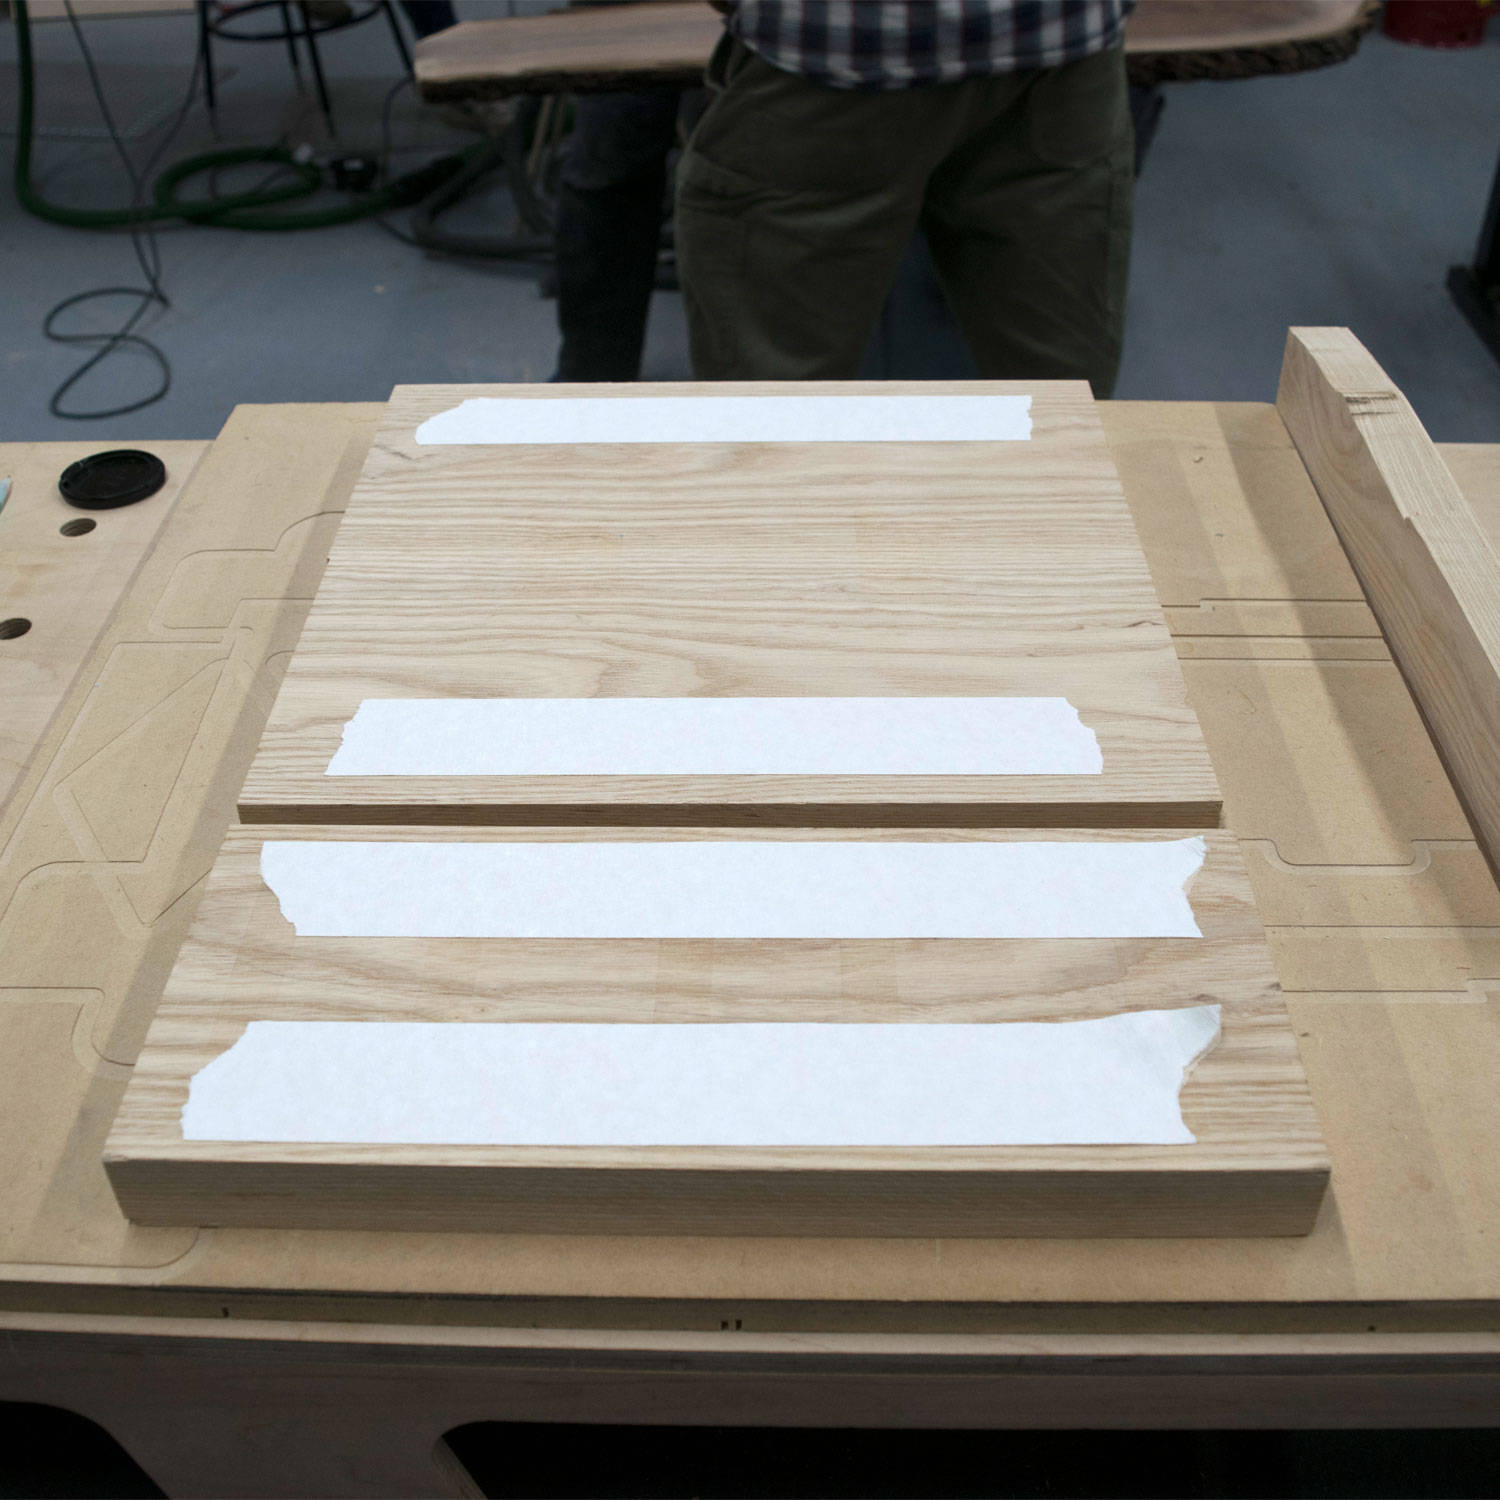
Prepare your work surface
Place a spoilboard measuring at least 16.5 in. x 22 in. onto your work surface.
Apply 2 inch wide double sided tape to both both blanks (select the better side of the seat blank, and place that side against the spoil board, that will be the top of the seat). Peel the backing and stick the blanks to your spoil board. To ensure good adhesion, press firmly along each strip of of tape. Clamp the spoilboard securely to your work surface.
Prepare your work surface
Liberally apply ShaperTape to the seat blank only, you won’t need any on the leg blank (Origin will be facing towards the seat blank while you are cutting).
Scan your work surface.
Place leg design
In Design mode, tap the plus button and select tripod_stool_legs_v001.
Align the file to your leg blank and place.
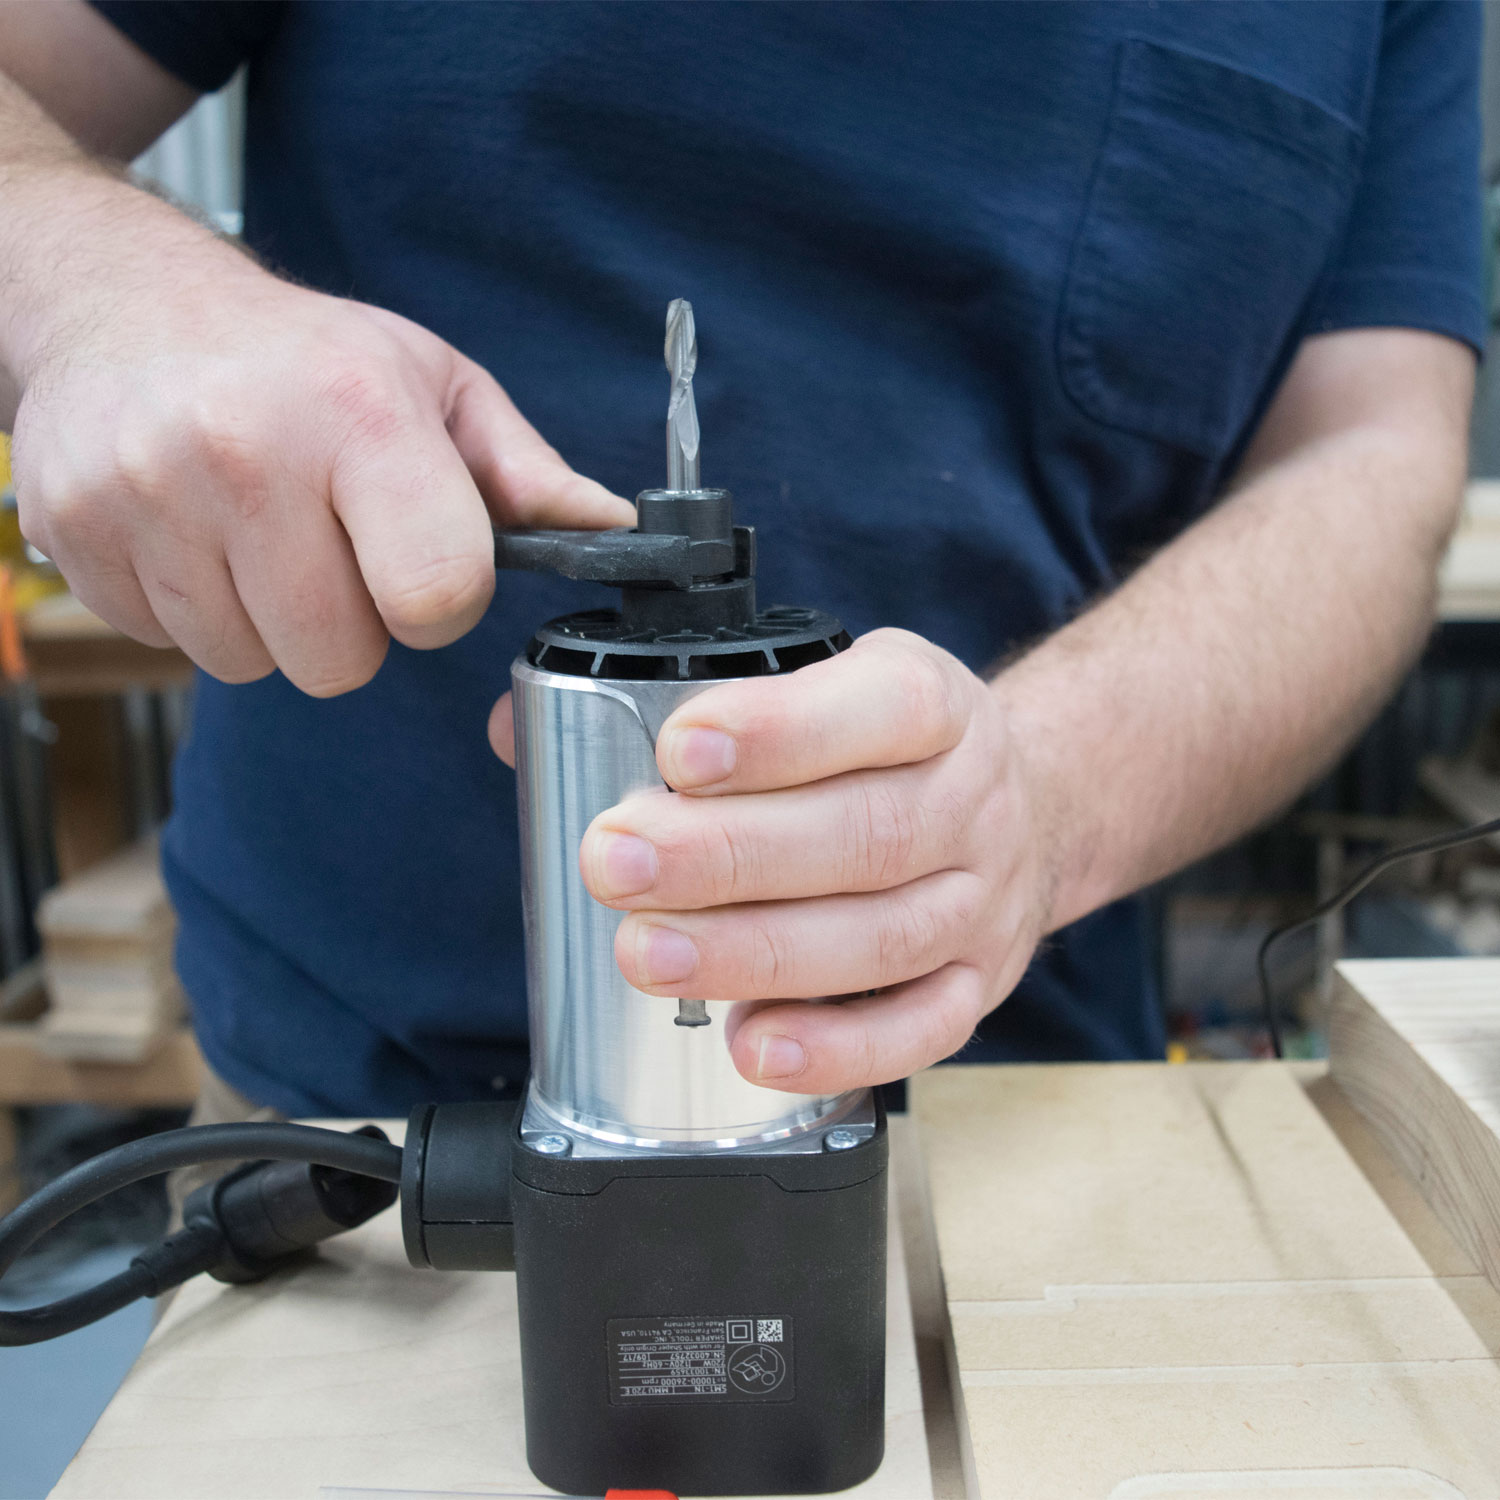
Install Up-cut ¼” bit
Install the ¼” Up-Cut Bit.
On screen, update the following:
Bit size: 1/4" (.25 in.)
Z touch to calibrate the new bit to your workspace
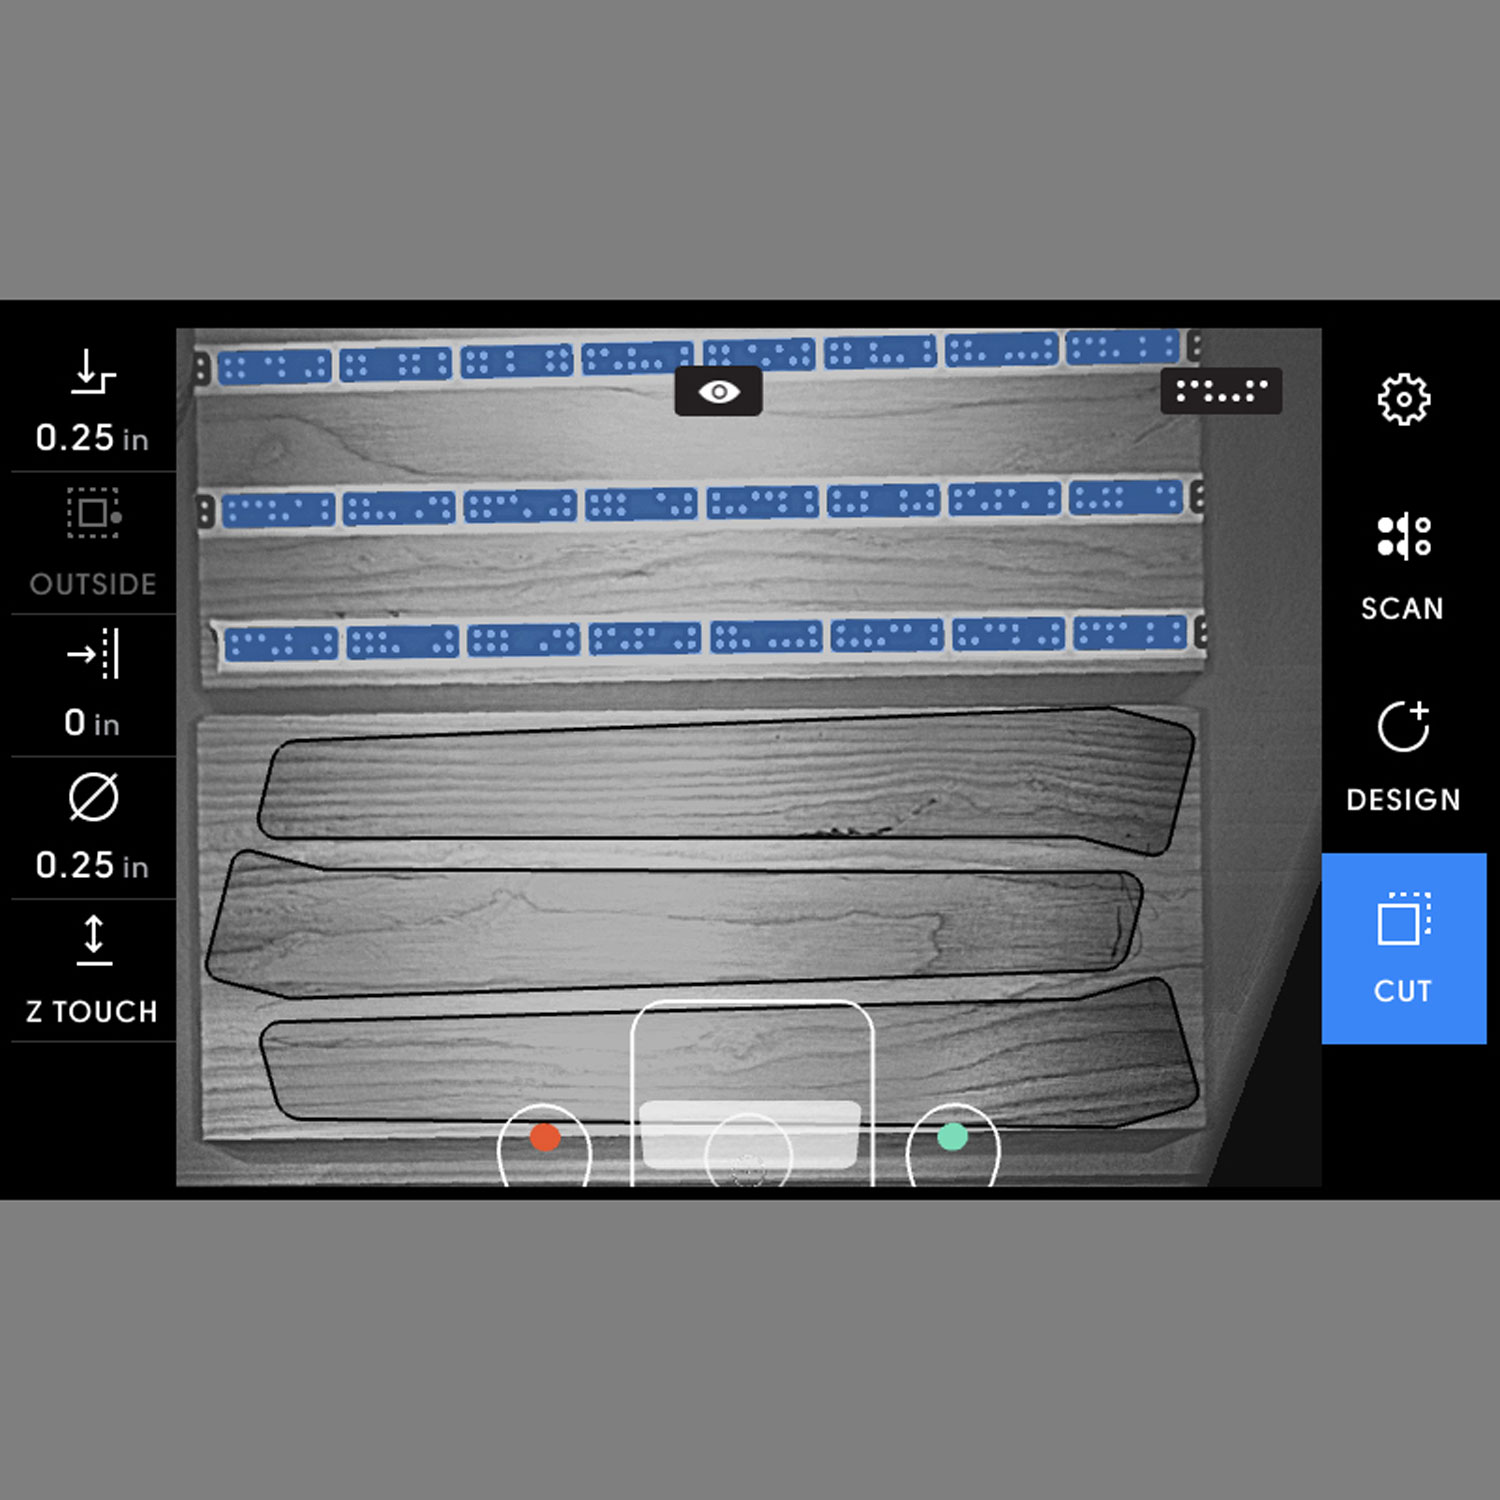
Cut the leg patterns
You will be using Origin to cut a template into the blank. Adjust your settings and carefully cut all three outside profiles. Take your time with this, as it needs to be a finish quality cut.
Before cutting, always make sure you are wearing the appropriate safety equipment (eye, hearing, and respiratory).
Hover over the edge of one of the leg profiles and confirm the below cut settings. Cut the the three leg profiles.
Depth: 1/4" (.25 in.)
Cut type: Outside
Offset: 0
Bit size: 1/4" (.25 in.)
Spindle speed (off screen): 5

Rough cut legs from blank
Using a Jigsaw (or bandsaw if you’ve got one), rough cut the individual legs from the blank. Carefully trim each leg getting as close as you can to the leg profile without cutting into it. You want your table router to remove as little as possible, so leave no more than ⅛” of material (less if possible).

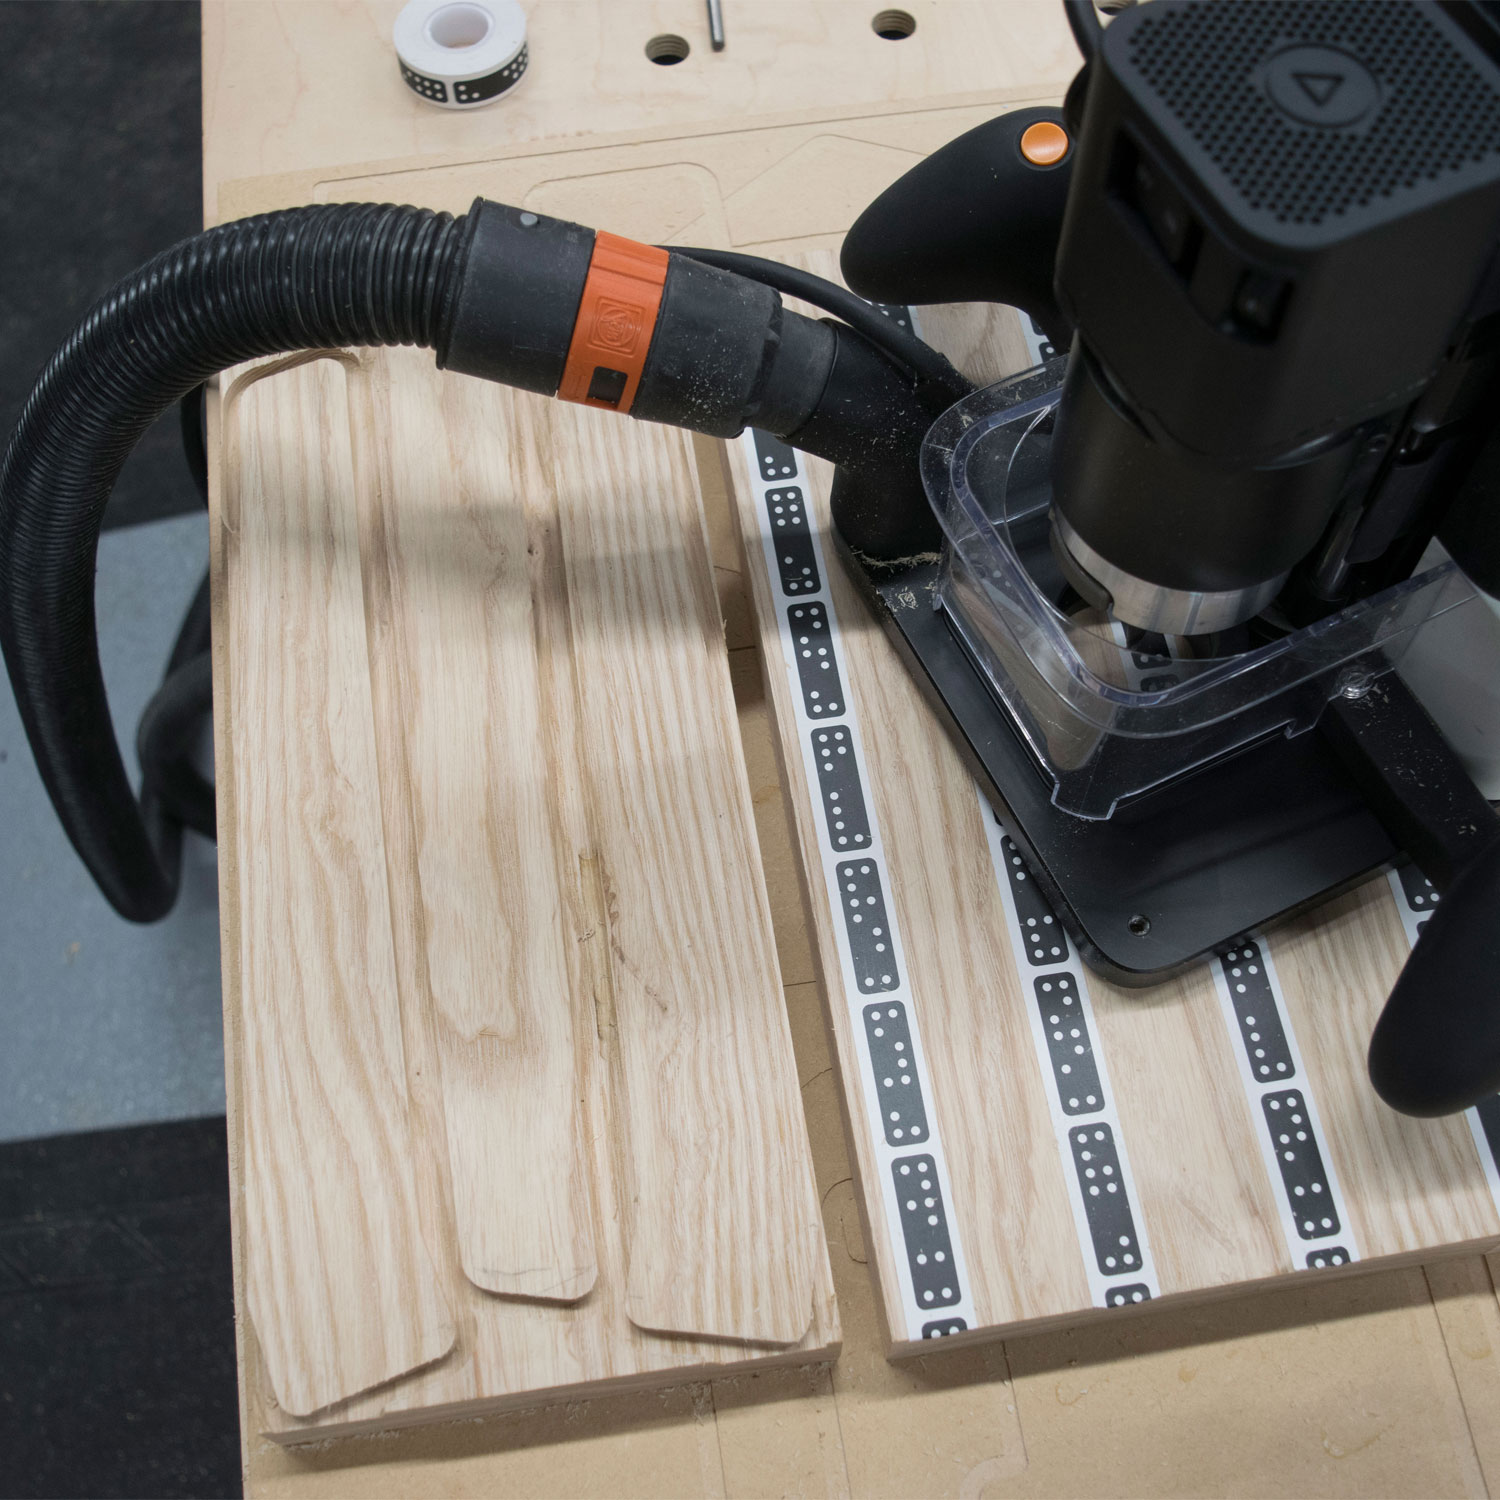
Cut legs to final dimension on the router table
Set the bearing on your flush trim bit to match to template you created in Step 7. Carefully cut to the pattern. Repeat for all three legs.
Router tables can be dangerous! Use extra care going around the corners at the top and bottom of the leg. Routing in end grain can be tricky, most especially with a straight flute bit. If you are not comfortable taking this on, you can use Origin to cut all the way through the end grain sections and the router table for the rest (may require a longer bit) . Alternatively, use a miter saw to make the cuts across the end grain, and the router table to finish the rest.
If using a straight flute bit, take care to only cut “down hill” to avoid tear out!

Cut leg angle guide - rough pass
Using double sided tape, attach your plywood (½” or ¾”) to a spoilboard.
Apply ShaperTape to the plywood and scan to create a new workspace.
In Design mode, tap the plus button and select tripod_stool_angle_guide_v001. Then align and place the file. Adjust your settings and make the rough passes.
Rough pass #1:
Depth: 1/4" (.25 in.)
Cut type: Outside
Offset: 0.05 in.
Bit size: 1/4" (.25 in.)
Spindle speed (off screen): 5
Rough pass #2:
Depth: 1/2" (.5 in.)
Rough pass #3 (only if you are using ¾” thick plywood):
Depth: 3/4" (.75 in.)

Cut leg angle guide - finish pass
Adjust cut settings, and make finish passes on the inside and outside profiles.
Finish pass:
Depth: 1/4" (.25 in.)
Cut type: Outside
Offset: 0 in.
Bit size: 1/4" (.25 in.)
Spindle speed (off screen): 5
Cut leg tenons - setup
In the next few steps, you will cut the leg tenon. Pay close attention as there are three different paths in close proximity. It is easy to get confused and make a mistake.
Slot your freshly made angle guide onto the delrin reference pins in your Vertical Workstation. Mount one of your legs into the vertical workstation. Be sure to hold the edge of the leg firmly against the guide, and align the top of the leg to (or just slightly below) the top of your vertical workstation.

Cut leg tenons - pocketing
In Cut mode, perform a Z Touch with the bit aligned to the top of the leg.
In Design mode, tap the Grid tool and select ⅛” spacing. Follow the on screen instructions to define the edges of the end of the leg (make sure to set the depth to ¾” (0.75 in.) when probing the edge).
Tap the plus button to and select the leg tenon file. Align the blue guide line to the bottom left hand corner of the part and press place to anchor.
Use the below settings to rough out the tenon:
Rough pass #1:
Depth: 1/4" (.25 in.)
Cut type: Pocket
Offset: 0 in.
Bit size: 1/4" (.25 in.)
Spindle speed (off screen): 5
Rough pass #2:
Depth: 1/2" (.5 in.)
Rough pass #3:
Depth: 0.625 in.
Rough pass #5:
Depth: 1 in.
Offset: 0.01 in. (this steps the bit slight off the wall of the pocket allowing you to use a standard bit to make deeper cuts)
Rough pass #4:
Depth: 1.27 in. (to make sure the top of the through tenon comes slightly beyond the top of the seat - these can be sanded or planed off after the glue up).

Cut the leg tenons - finish pass
Adjust your cut settings and make finish passes on the tenon. The upper section of the tenon is smaller than the lower section. This strengthens the tenon, while keeping the visible section visually proportionate to rest of the stool. Cut the top section of the tenon first, then adjust to the lower depth and cut the bottom section. It is easy to confuse the two profiles - be careful!
Finish pass #1 (small profile):
Depth: 0.625 in.
Cut type: Outside
Offset: 0.05 in.
Bit size: 1/4" (.25 in.)
Spindle speed (off screen): 5
Finish pass #2 (small profile):
Offset: 0 in.
Finish pass #3 (large profile):
Depth: 1.3 in.
Cut type: Outside
Offset: 0.05 in.
Bit size: 1/4" (.25 in.)
Spindle speed (off screen): 5
Finish pass #4 (large profile):
Offset: 0 in.
Repeast steps 13 and 14 on the other two legs.
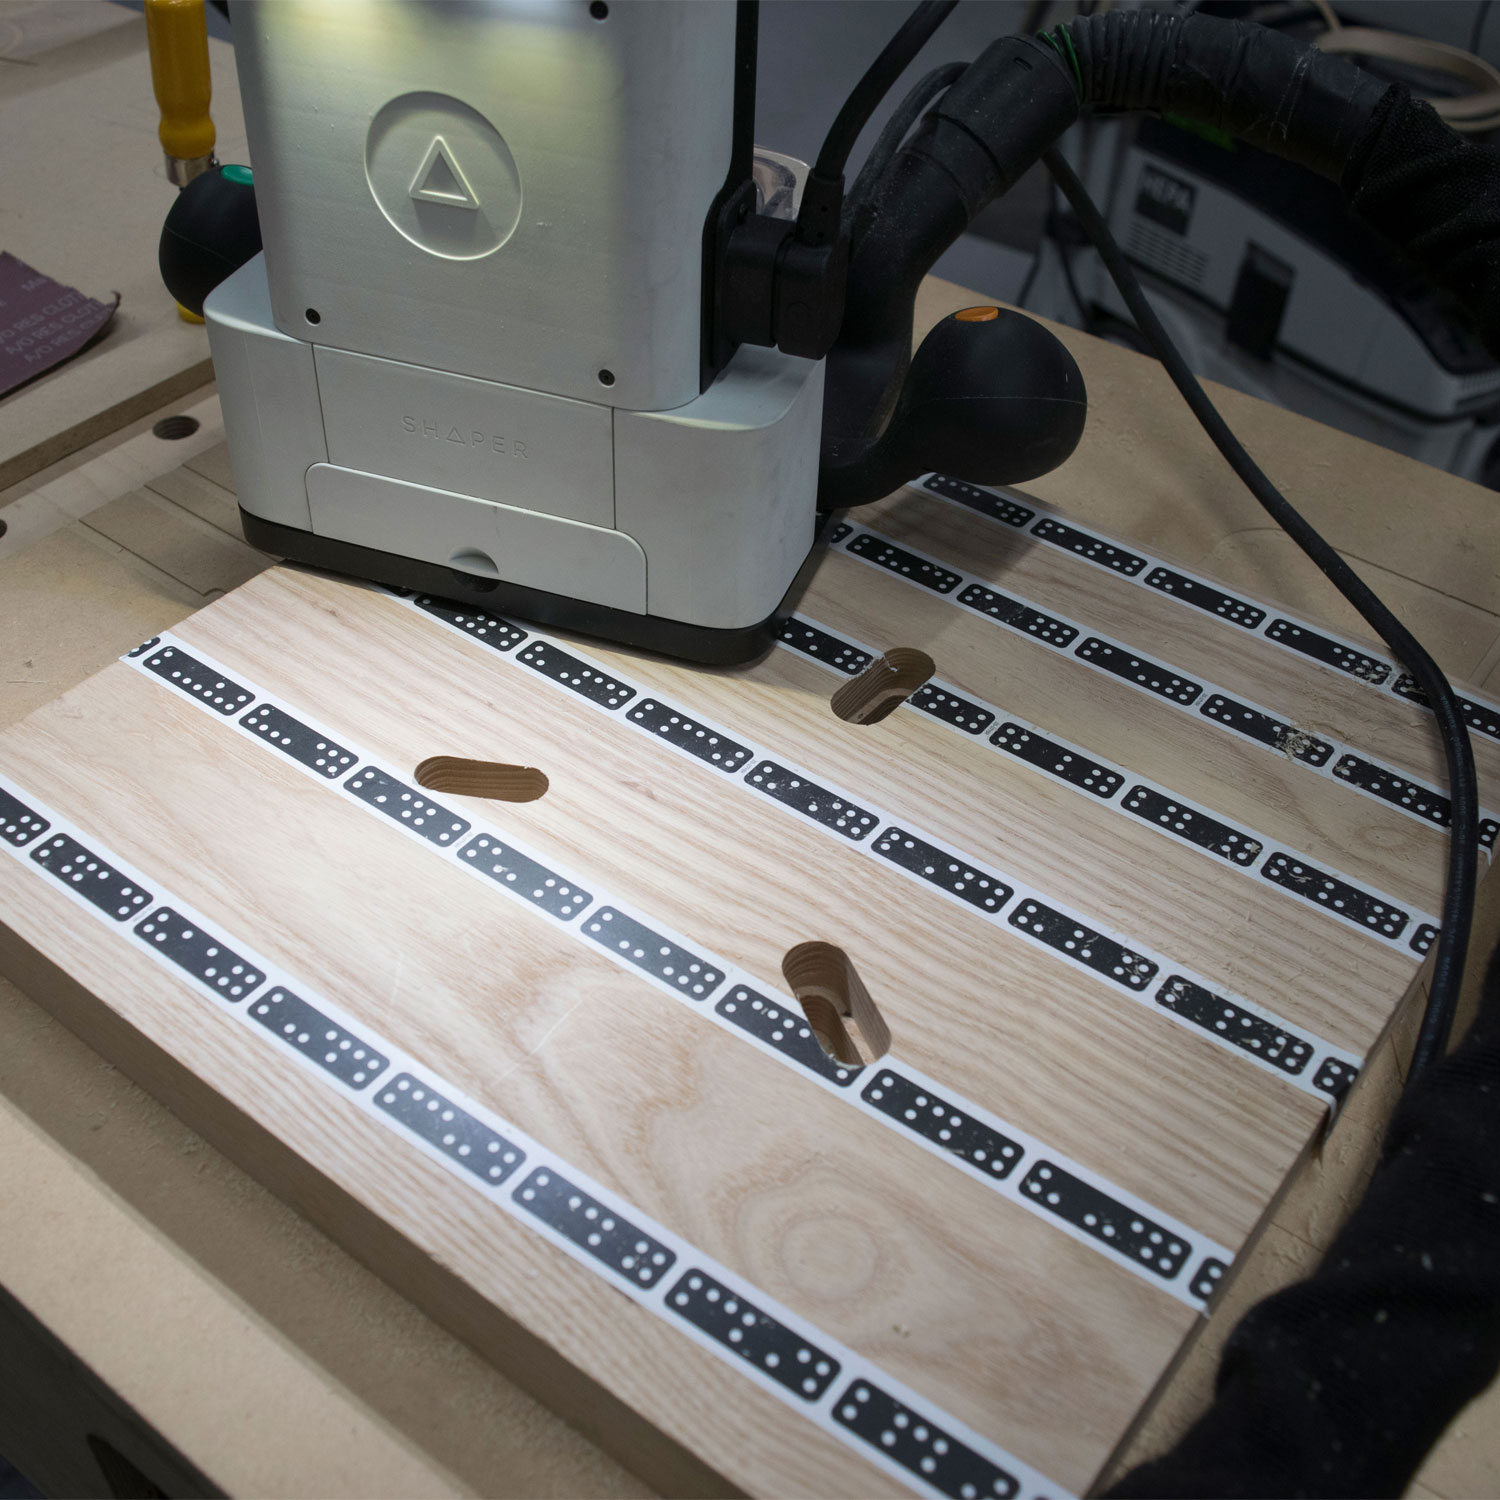
Creating mortises in the seat - rough pass
Because we have created the legs first, it is now possible for us to create each mortise and custom fit the leg to that mortise. Just like the tenon (but reversed), there are two separate profiles for the mortise. Start with the large profile for the first three steps, then move to the small profile for the rest. (it is helpful to use the small profile to remove material in the center when cutting the first three steps)
In Design Mode, tap the plus button and select tripod_stool_seat_v001. Place the file down in the center of your large blank.
Start by pocketing out the first mortise profile.
Rough pass #1 (both profiles):
Depth: 1/4" (.25 in.)
Cut type: Pocket
Offset: 0.05 in.
Bit size: 1/4" (.25 in.)
Spindle speed (off screen): 5
Rough pass #2 (both profiles):
Depth: 1/2" (.5 in.)
Rough pass #3 (both profiles):
Depth: 3/4" (.75 in.) (this is different from the length of the tenon to make sure that the seam is tight where the leg meets the bottom of the seat.)
Rough pass #4 (small profile):
Depth: 1 in.
Rough pass #5:
Depth: 1.27 in.
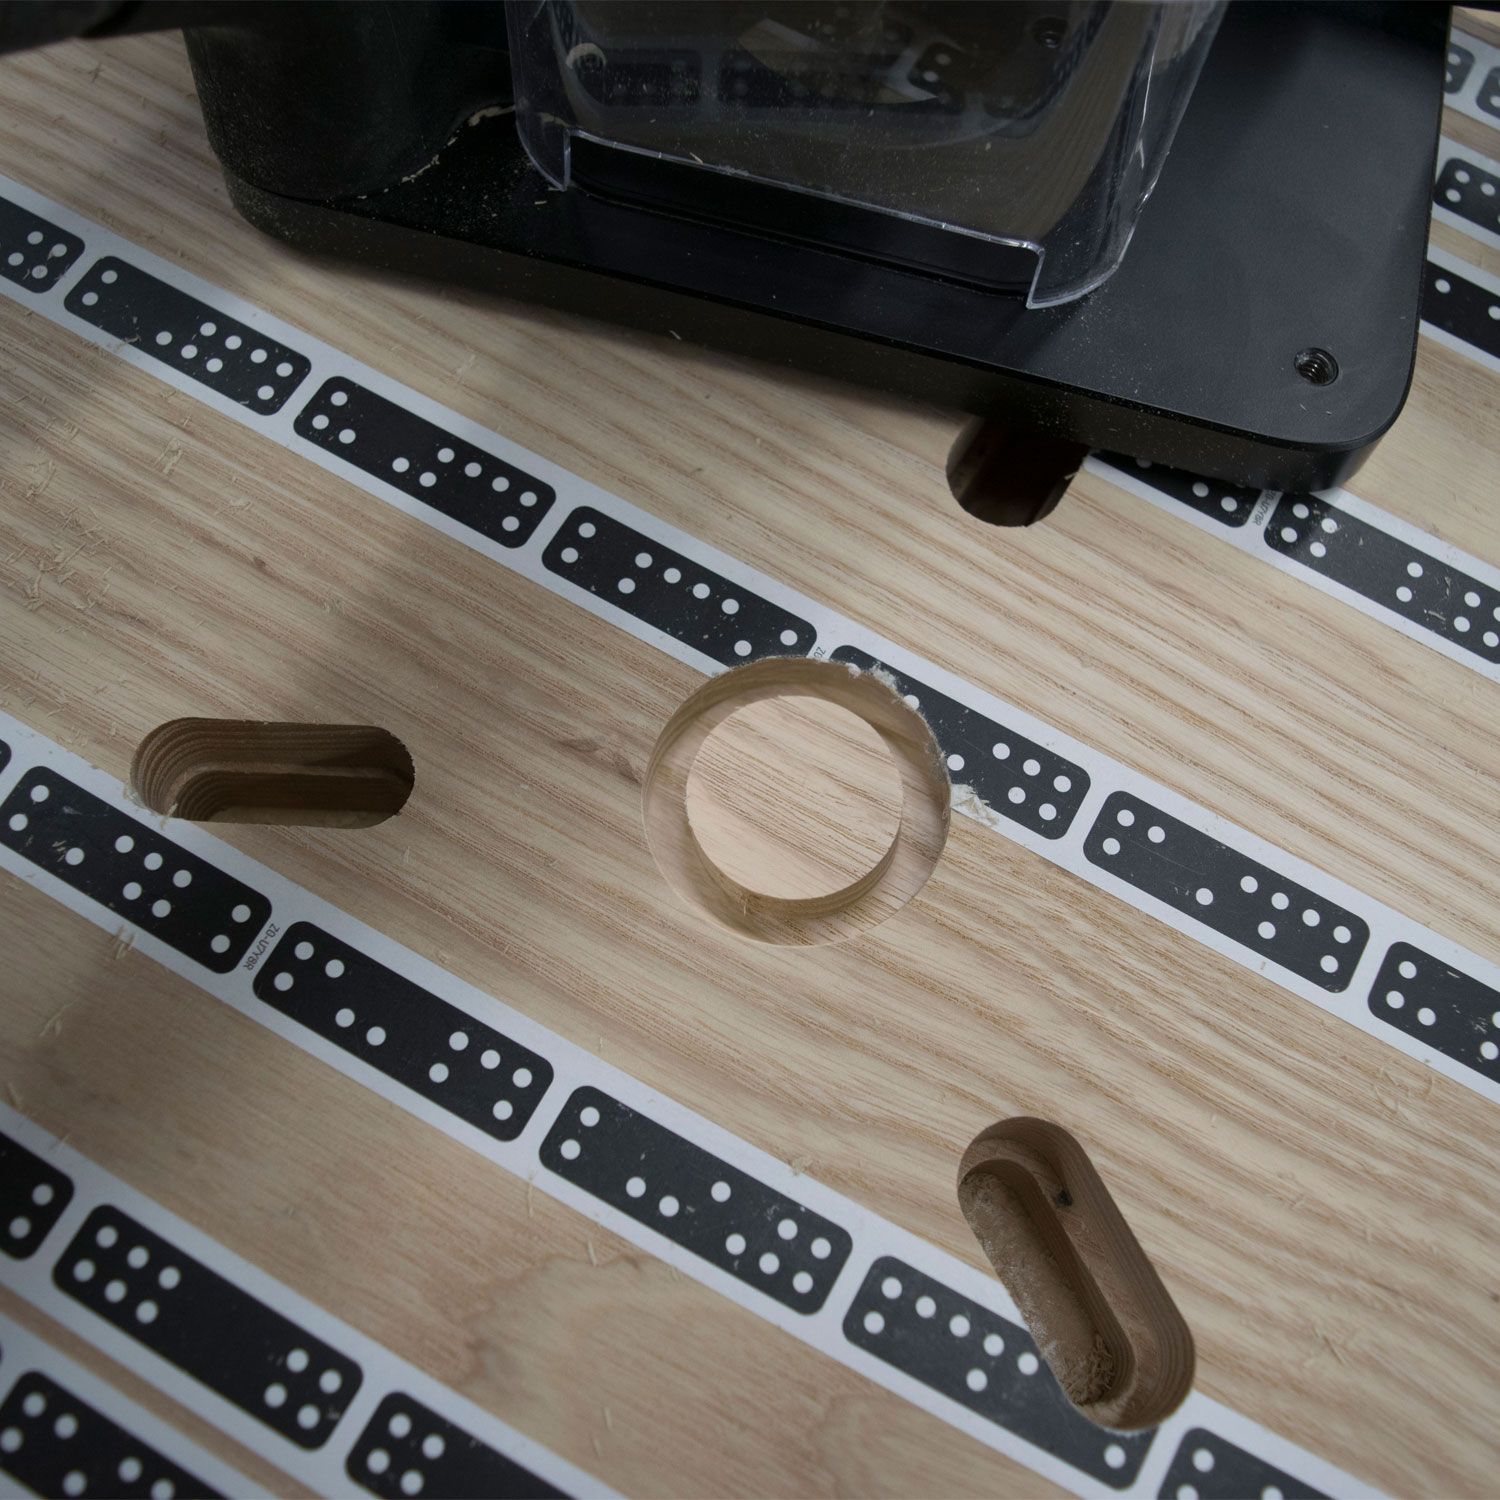
Creating mortises in the seat - finish pass
Because each one will be slightly different, it is best to custom fit each leg tenon to it’s corresponding mortise. Start by cutting the mortise to a zero offset. Then test and add a negative offset in small increments as needed (-0.0025 in. increments). Because the large profile will be hidden, it is better to make the fit a little loose. This will make the glue up much easier. Use a pencil to mark each mortise and tenon set so you don’t mix things up later.
Finish pass #1 (large profile):
Depth: 3/4" (.75 in.)
Cut type: Outside
Offset: 0.05 in.
Bit size: 1/4" (.25 in.)
Spindle speed (off screen): 5
Finish pass #2 (large profile):
Offset: 0 in.
Finish pass #3 (large profile):
Offset: -0.01 in. (to make the hidden section of the tenon a slightly loose fit)
Finish pass #4 (small profile):
Depth: 1.3 in.
Cut type: Outside
Offset: 0.05 in.
Bit size: 1/4" (.25 in.)
Spindle speed (off screen): 5
Finish pass #5 (small profile):
Offset: 0 in.
Finish pass #6 (small profile):
Offset: -0.0025 in. (remove more if needed to achieve a snug fit)
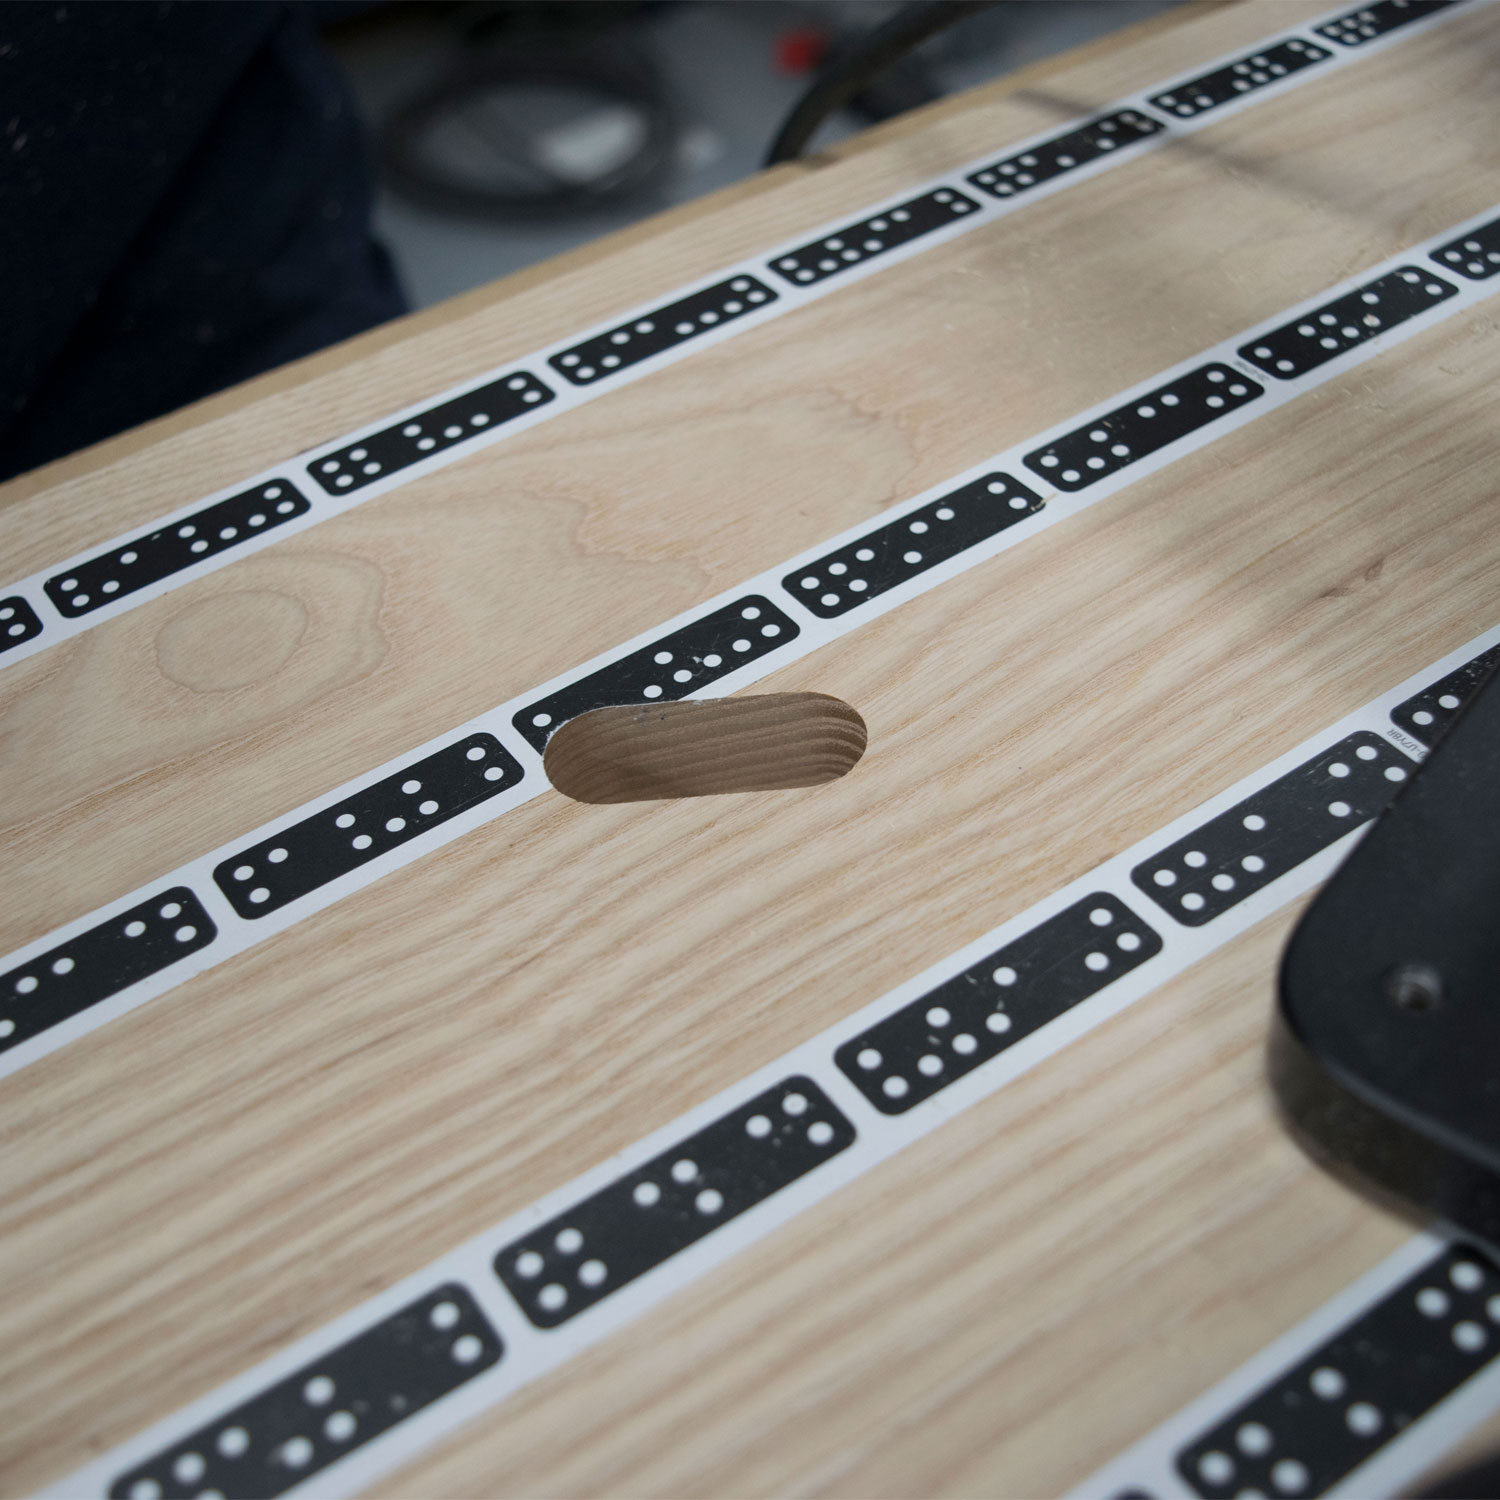
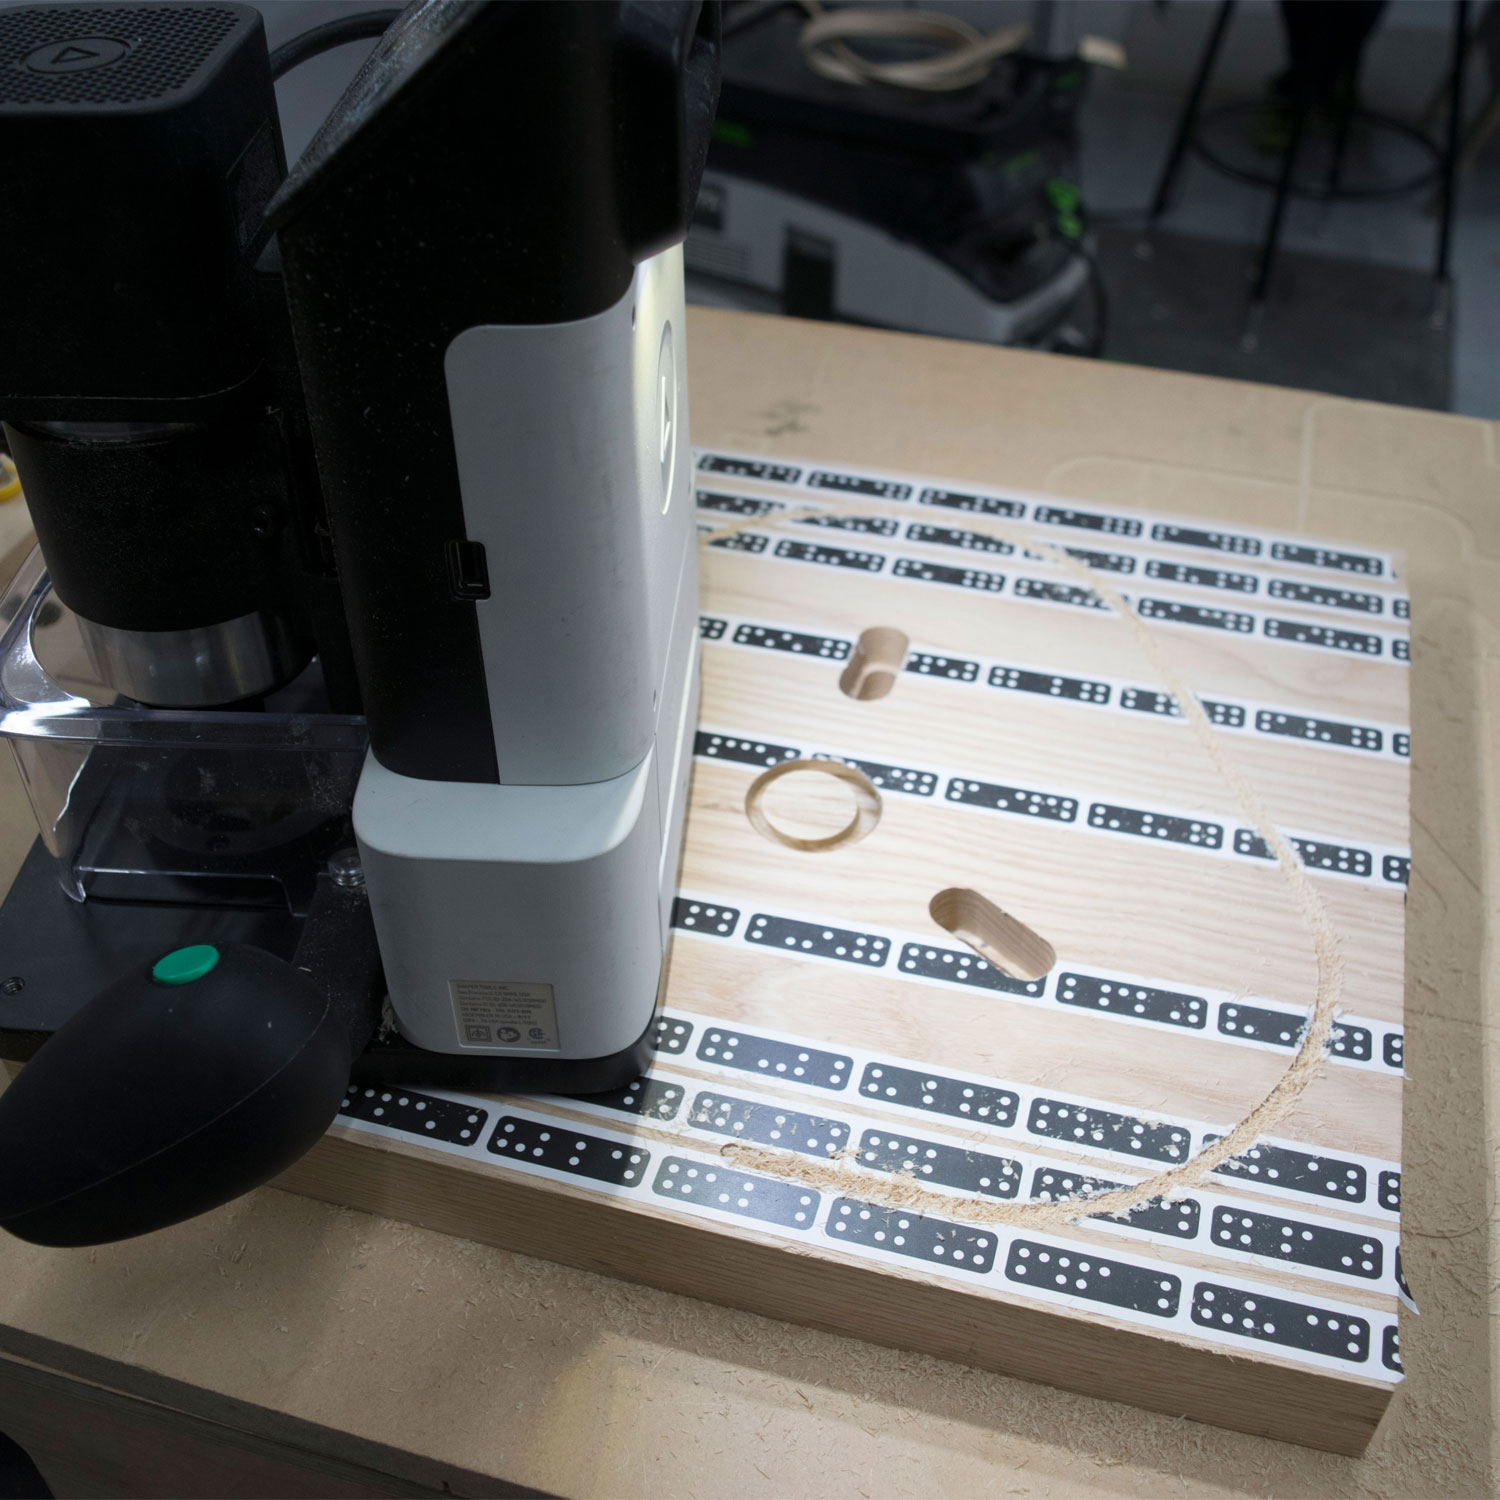
Cut the seat handle profile
Just as you did for the leg profiles, treat this as finish quality pass.
Also, after you cut the profile, you may want to cut a hole large enough for a jig saw blade to pass through. If using Origin remember the offset trick used to cut the the leg tenon in Step 13. This can also be done with a drill.
Depth: 1/4" (.25 in.)
Cut type: Outside
Offset: 0
Bit size: 1/4" (.25 in.)
Spindle speed (off screen): 5
Cut the seat profile
Being careful to create a finish quality pass, cut the seat profile.
To complete this cut, you will need to rotate Origin around the workpiece with the camera facing the center.
Depth: 1/4" (.25 in.)
Cut type: Outside
Offset: 0
Bit size: 1/4" (.25 in.)
Spindle speed (off screen): 5
If you run into issues with low tape, add some tape and Update Scan
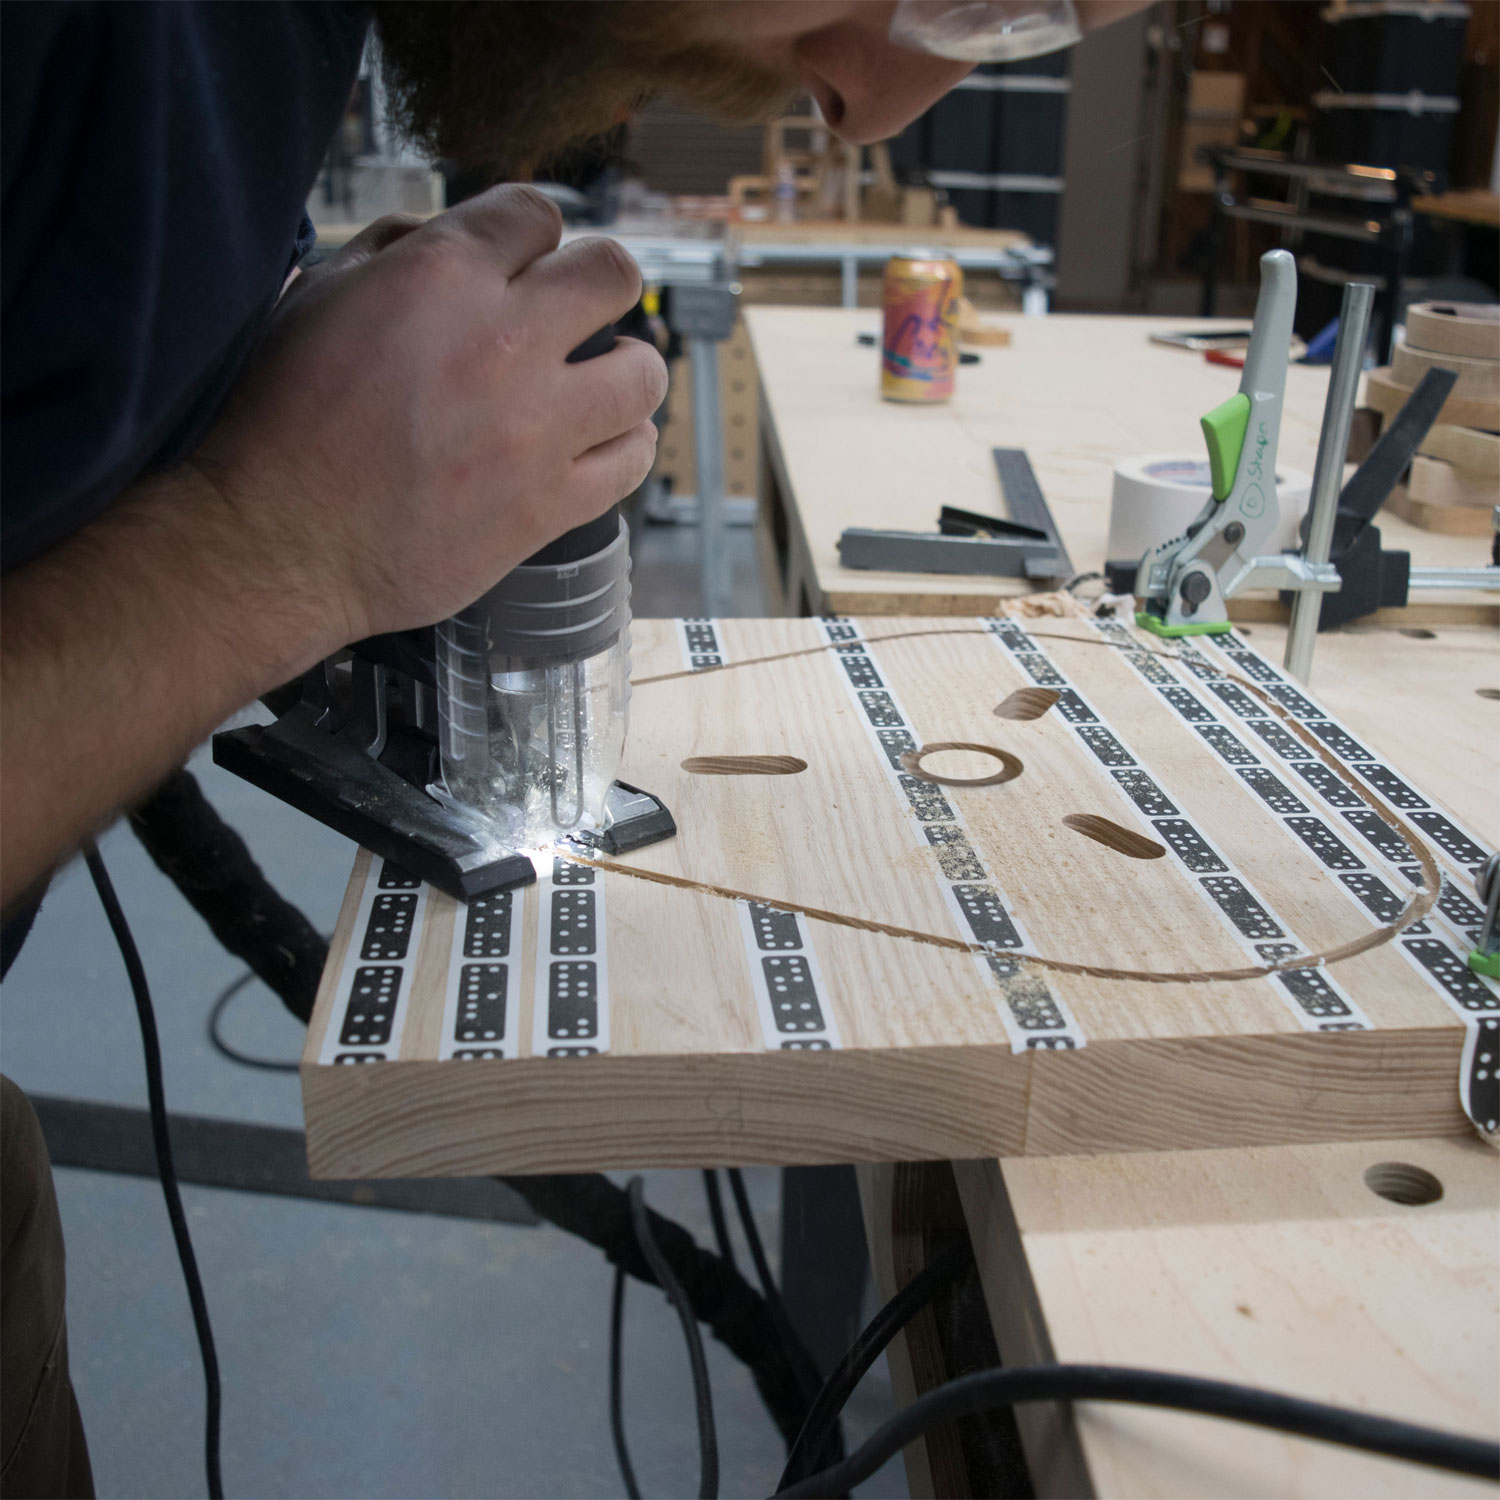
Rough cut seat from blank
Using a jigsaw or bandsaw, carefully rough cut the seat and seat handle profiles from the blank leaving no more than ⅛” of material outside the profile (less if you can).

Cut seat to final dimension using a router table
Using a router table with a flush trim bit, carefully trim the seat to its final dimensions.

Round over parts on a router table
Using a ⅜” roundover bearing bit on your router table, round the edges of the seat and legs (feel free to use a different radius if you want, this is strictly a visual decision).
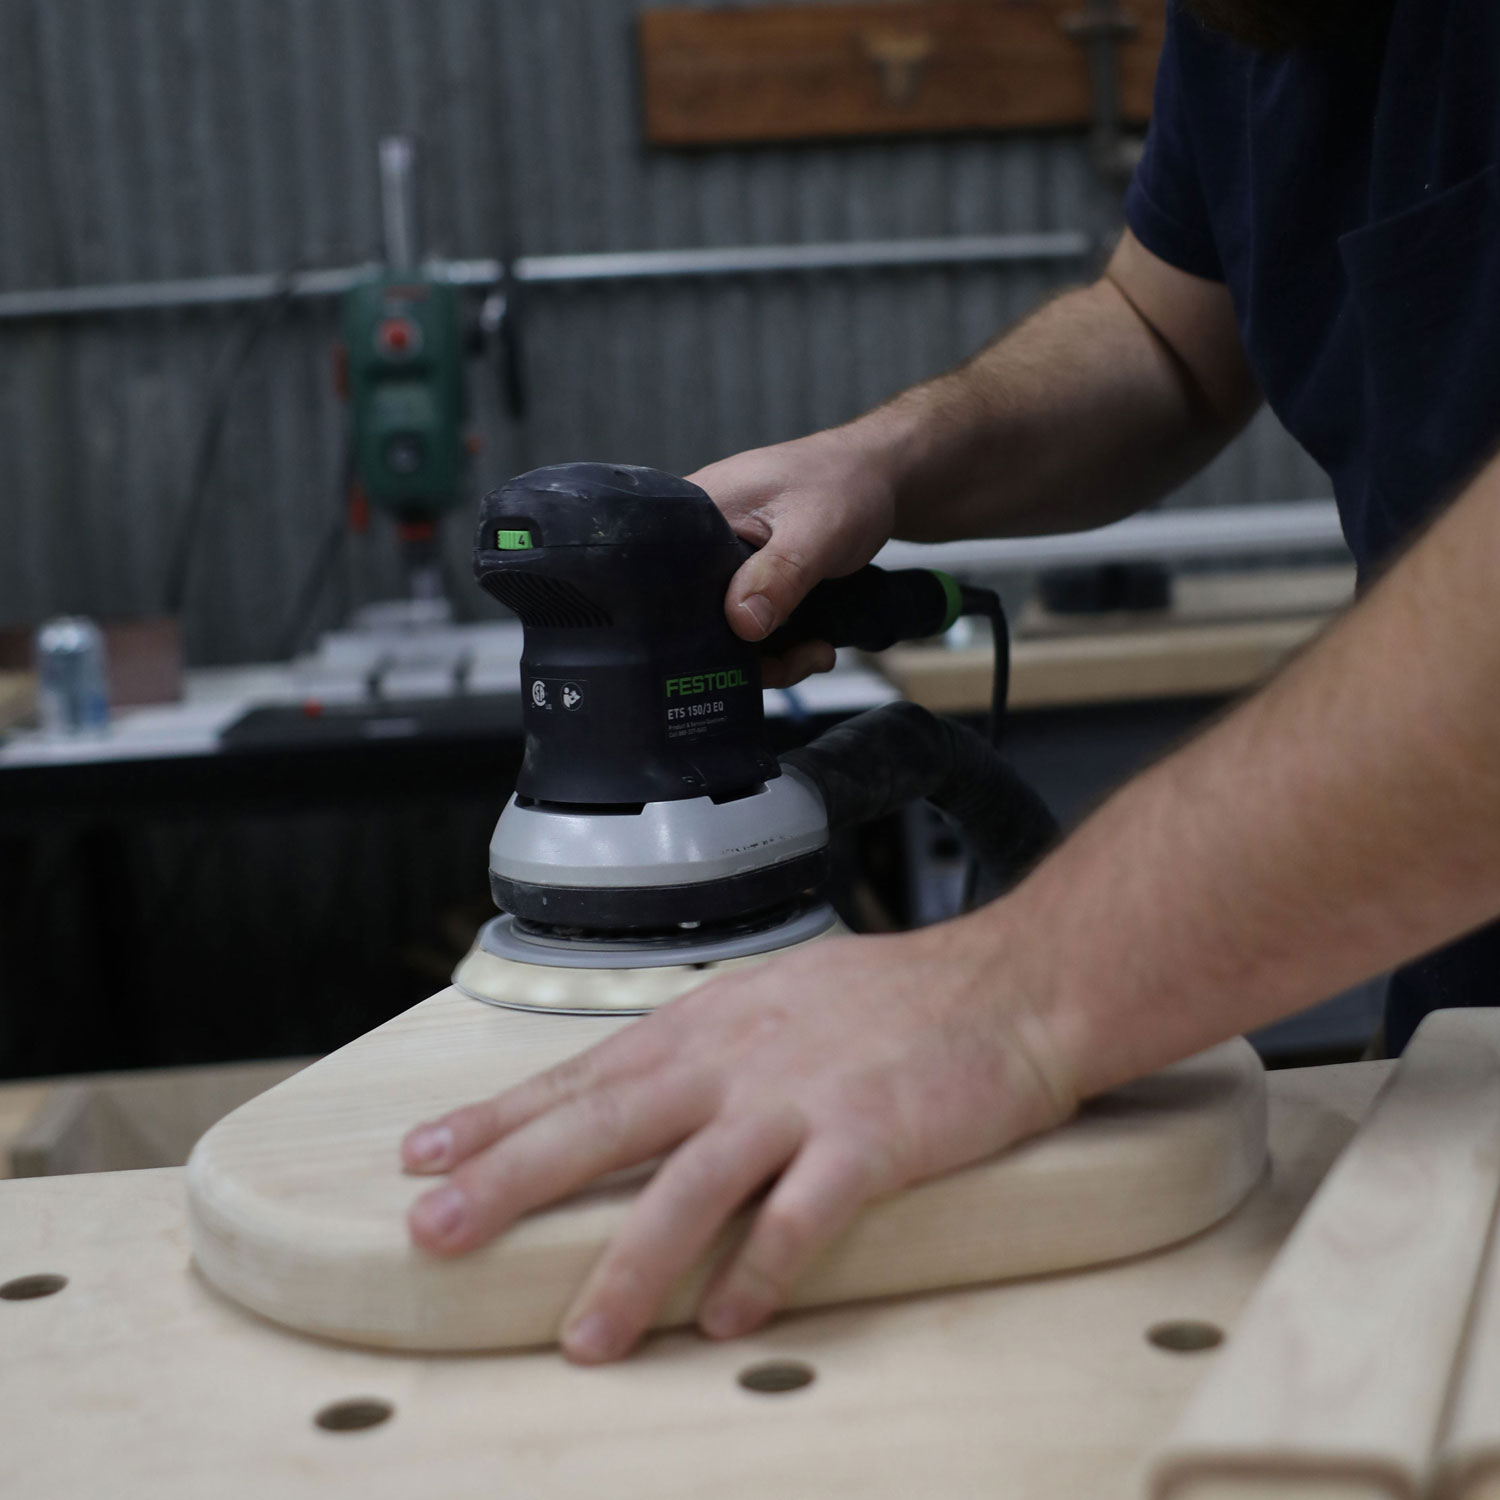
Sand
Sand all the parts to your desired level of finish

Glue up
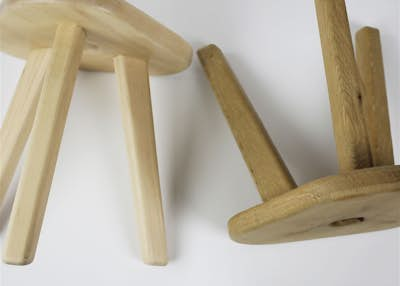
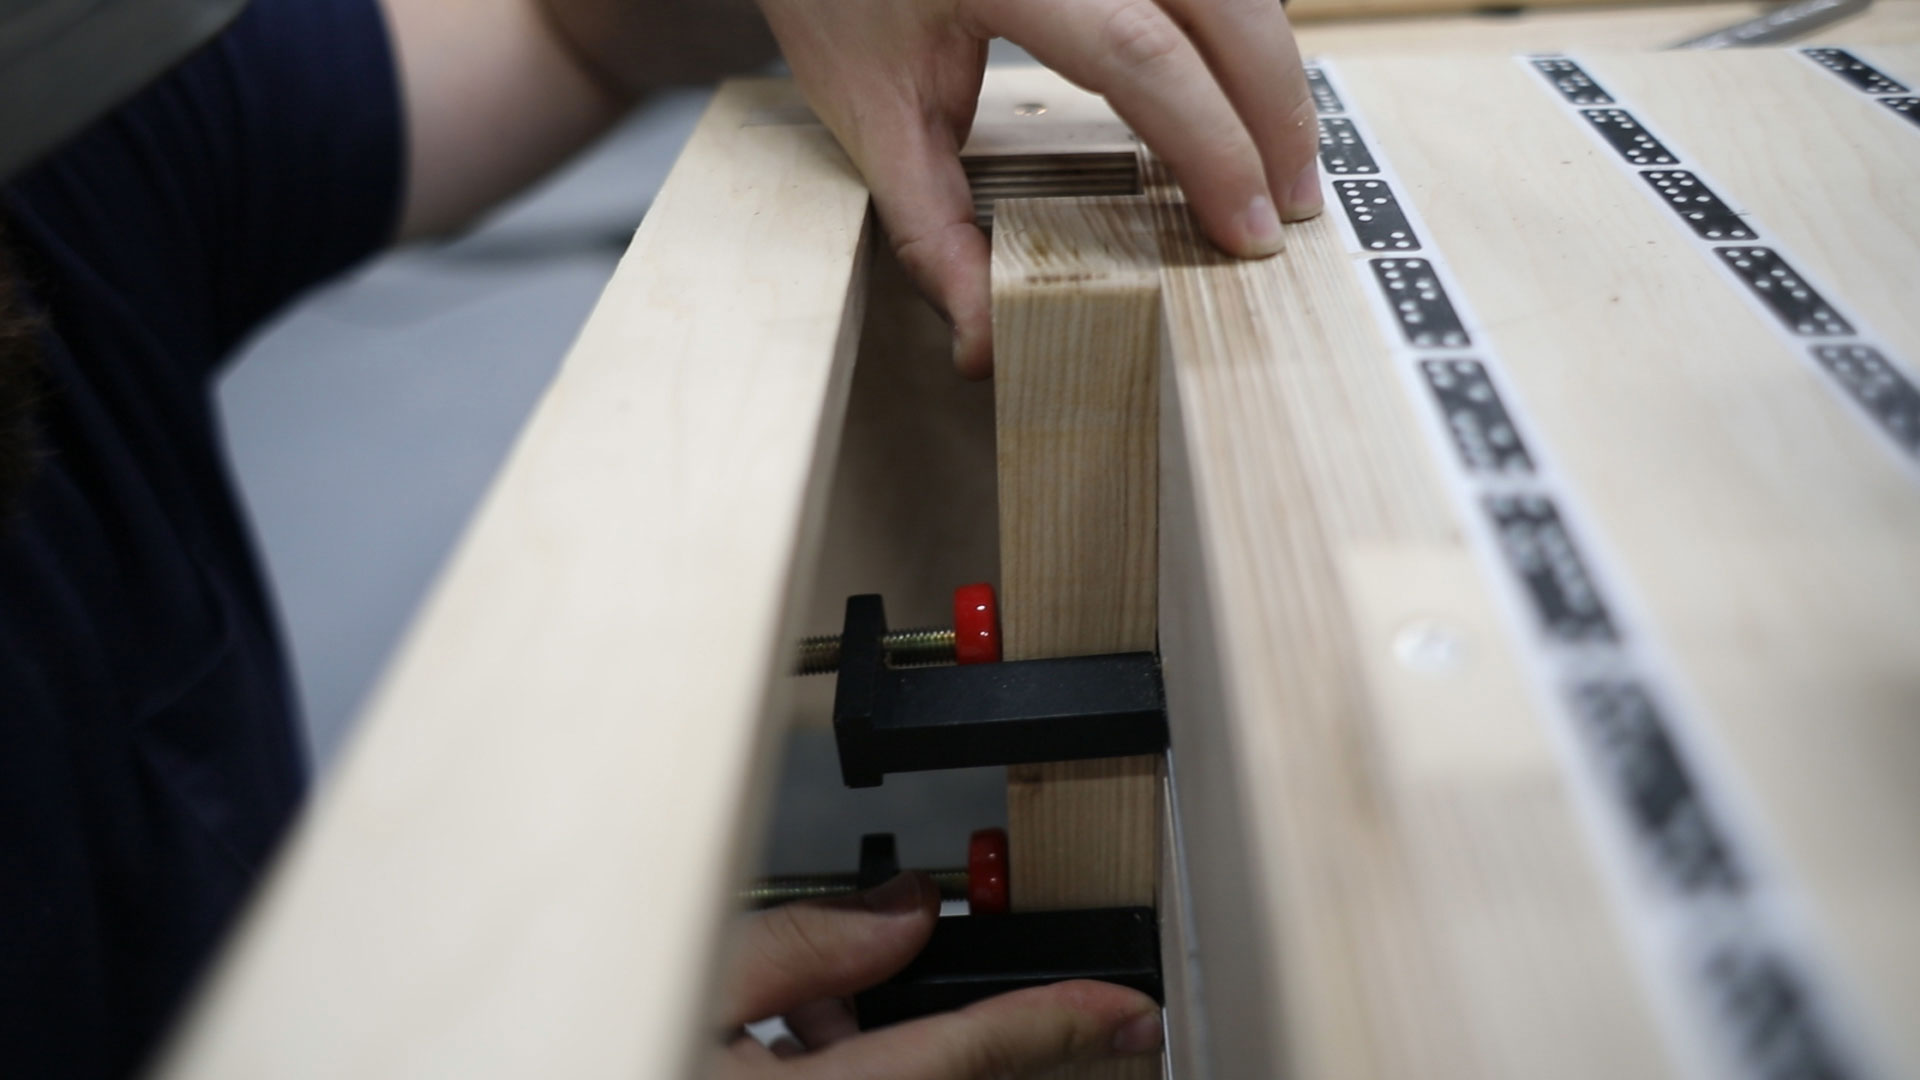
Working one leg at a time, use a brush or your finger to apply glue to both the mortise and tenon sides of the joint. Insert the leg until the top of the leg is flush with the bottom of the seat. The tenon should be slightly proud of the top. Repeat on the other two legs.
Clamping is not strictly necessary here as the joint friction generally holds things together while the glue sets. However, it is good to have clamps on hand in case the joint wants to pull apart.
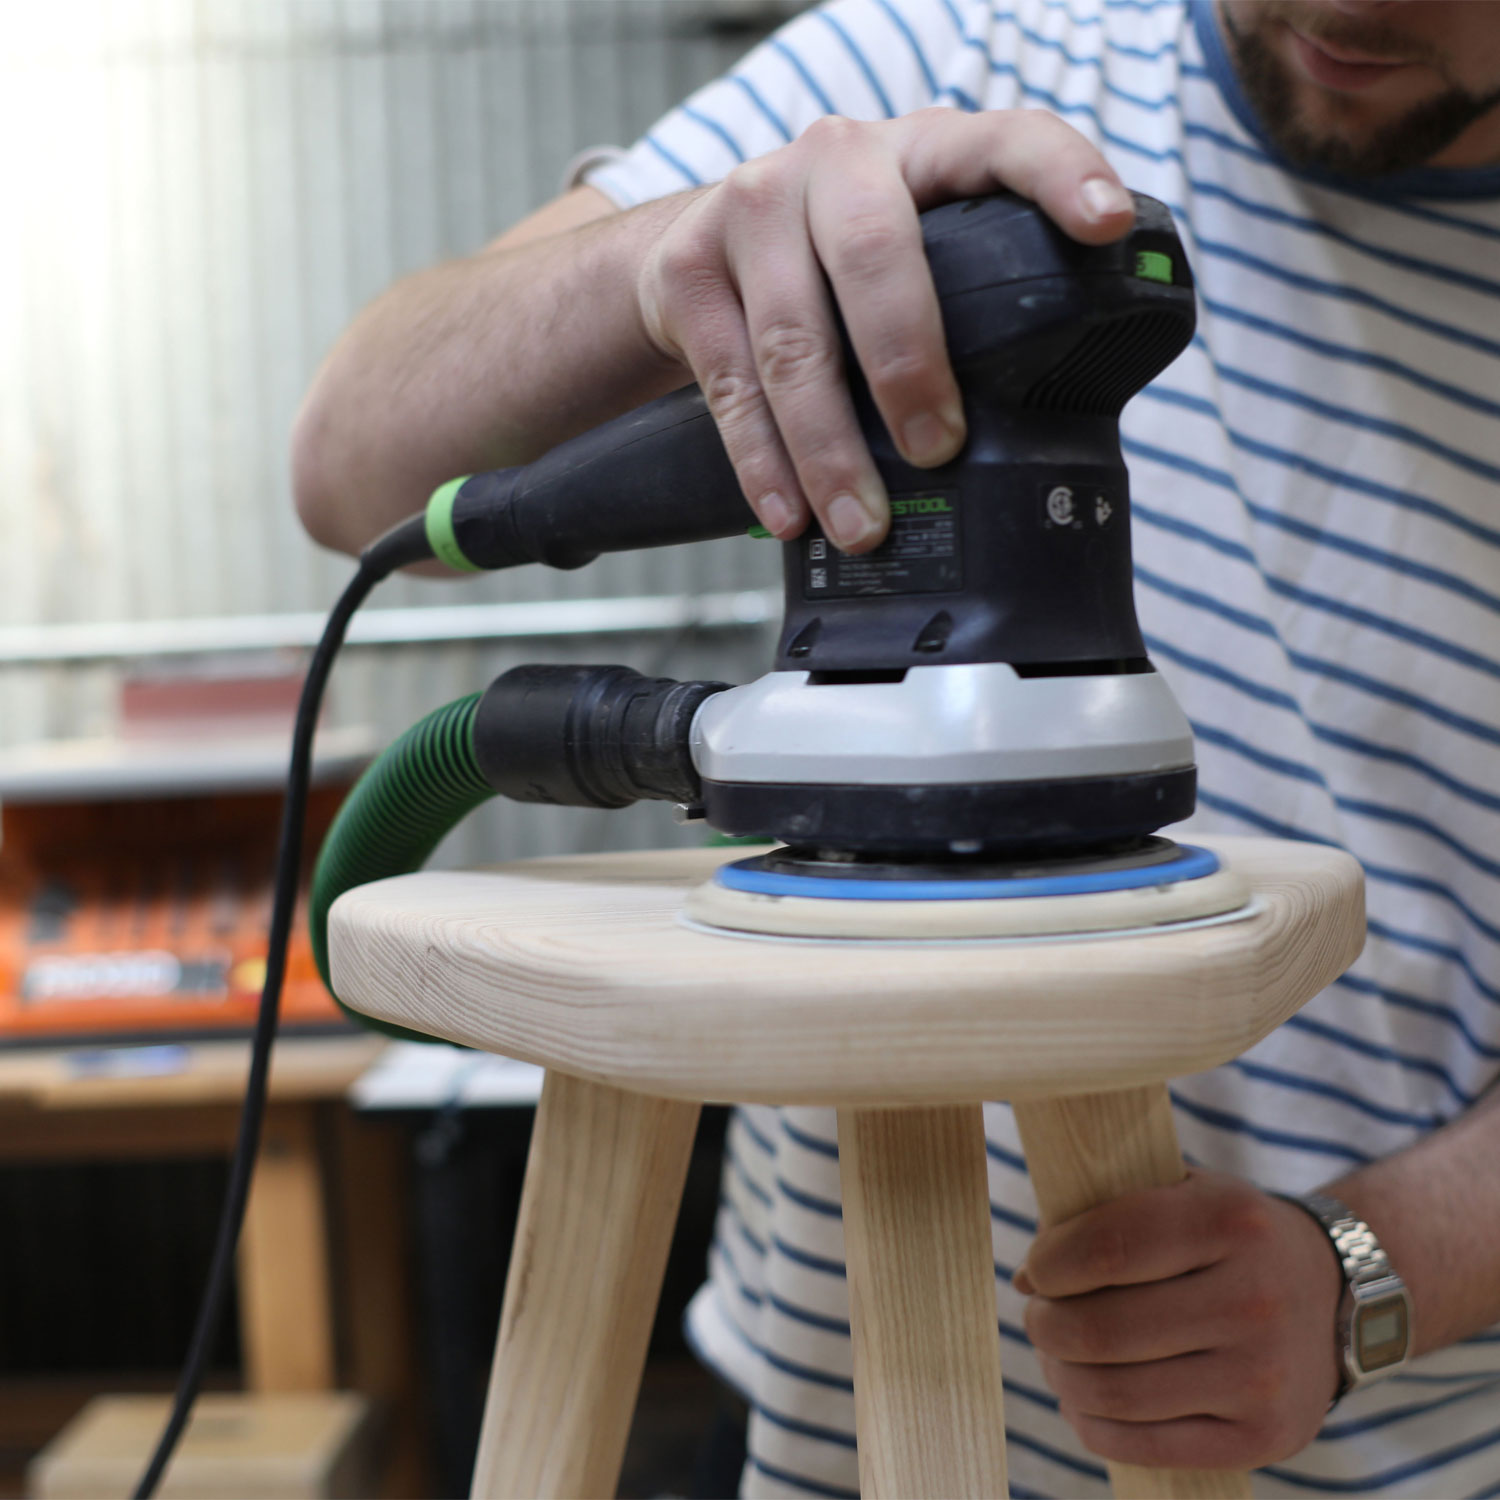
Sand or plane the tenons flush
Using a plane or sander with a hard pad, make the tenon tops flush with the seat and sand back to your desired level of finish.

Apply finish
Apply a few coats of your favorite wood finish.
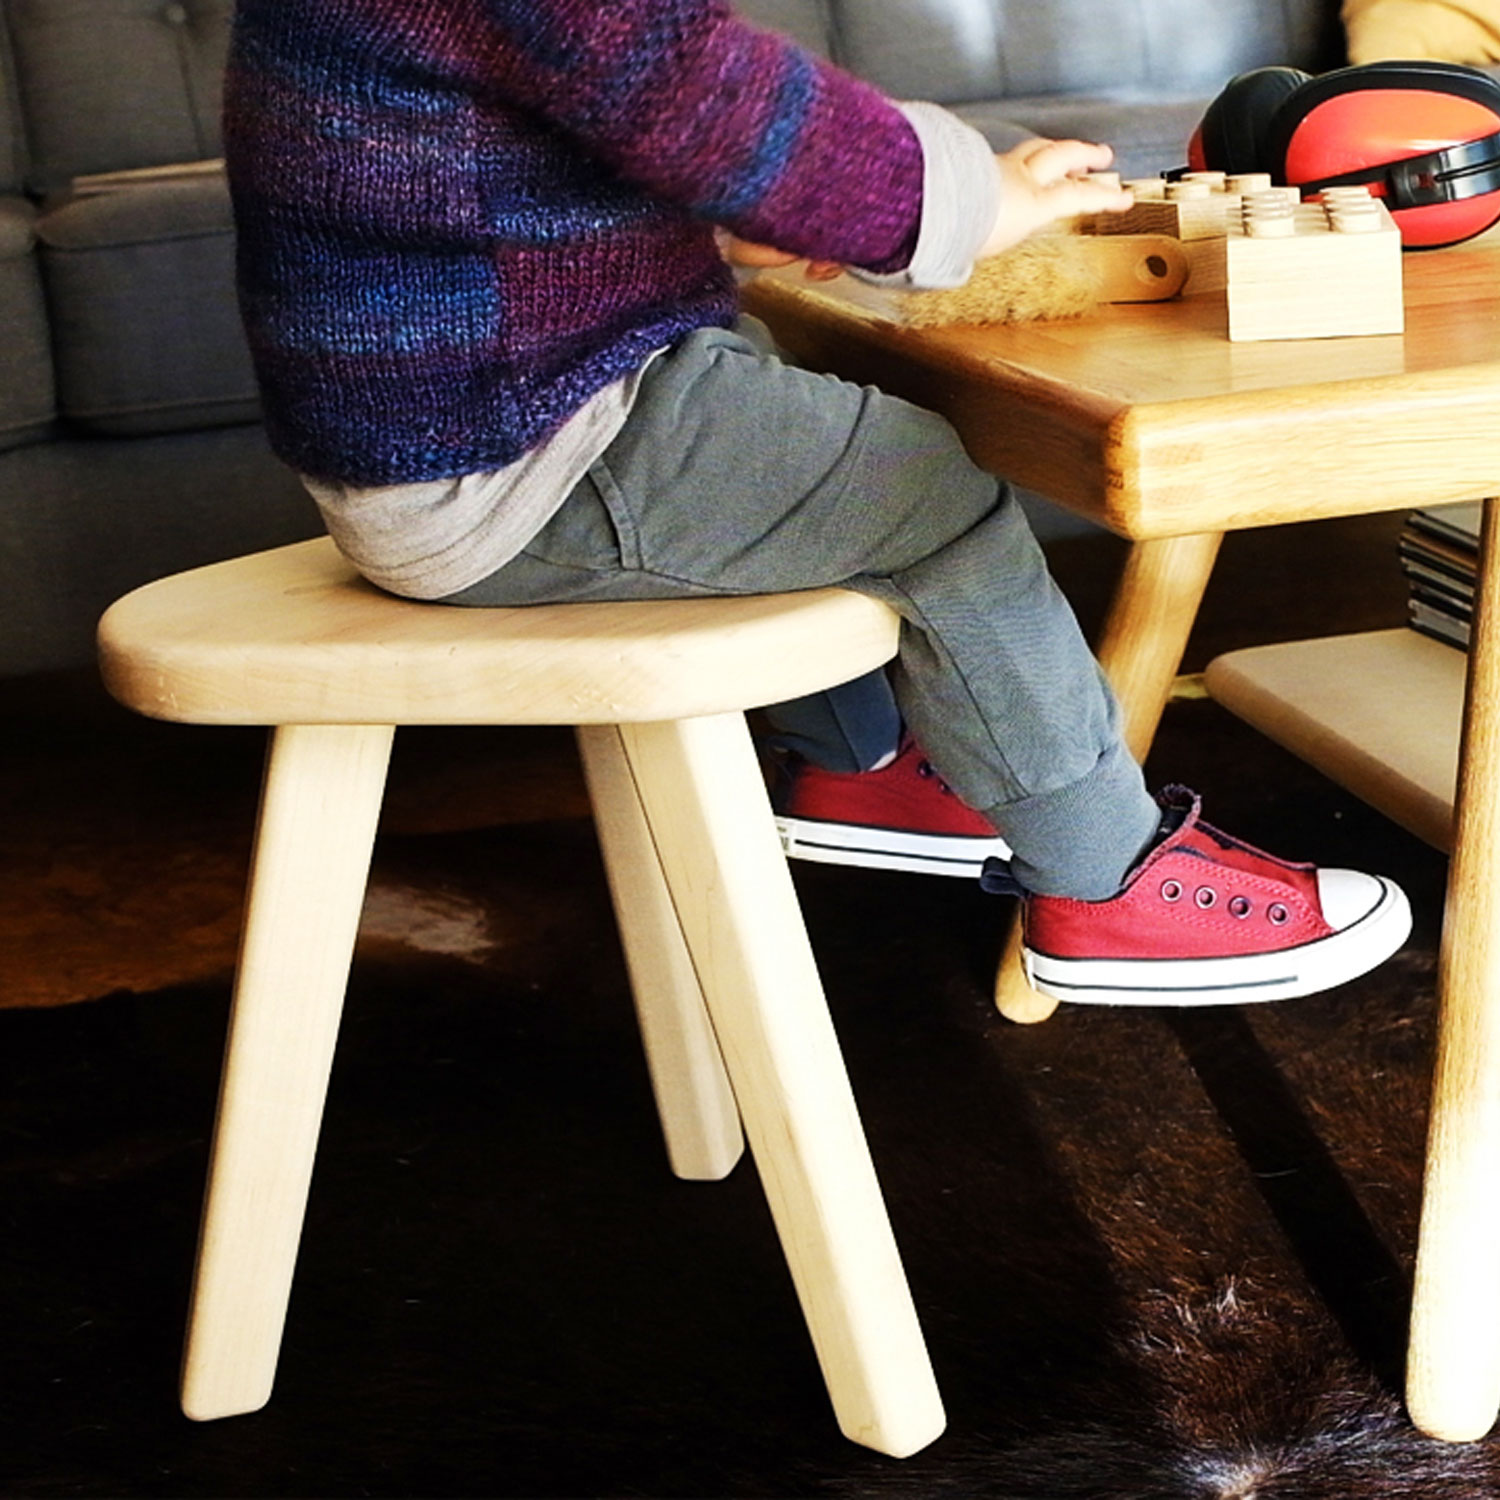
Have a seat
Congrats! You’ve completed the project! You now know how powerful Origin can be when integrated with your other shop tools.