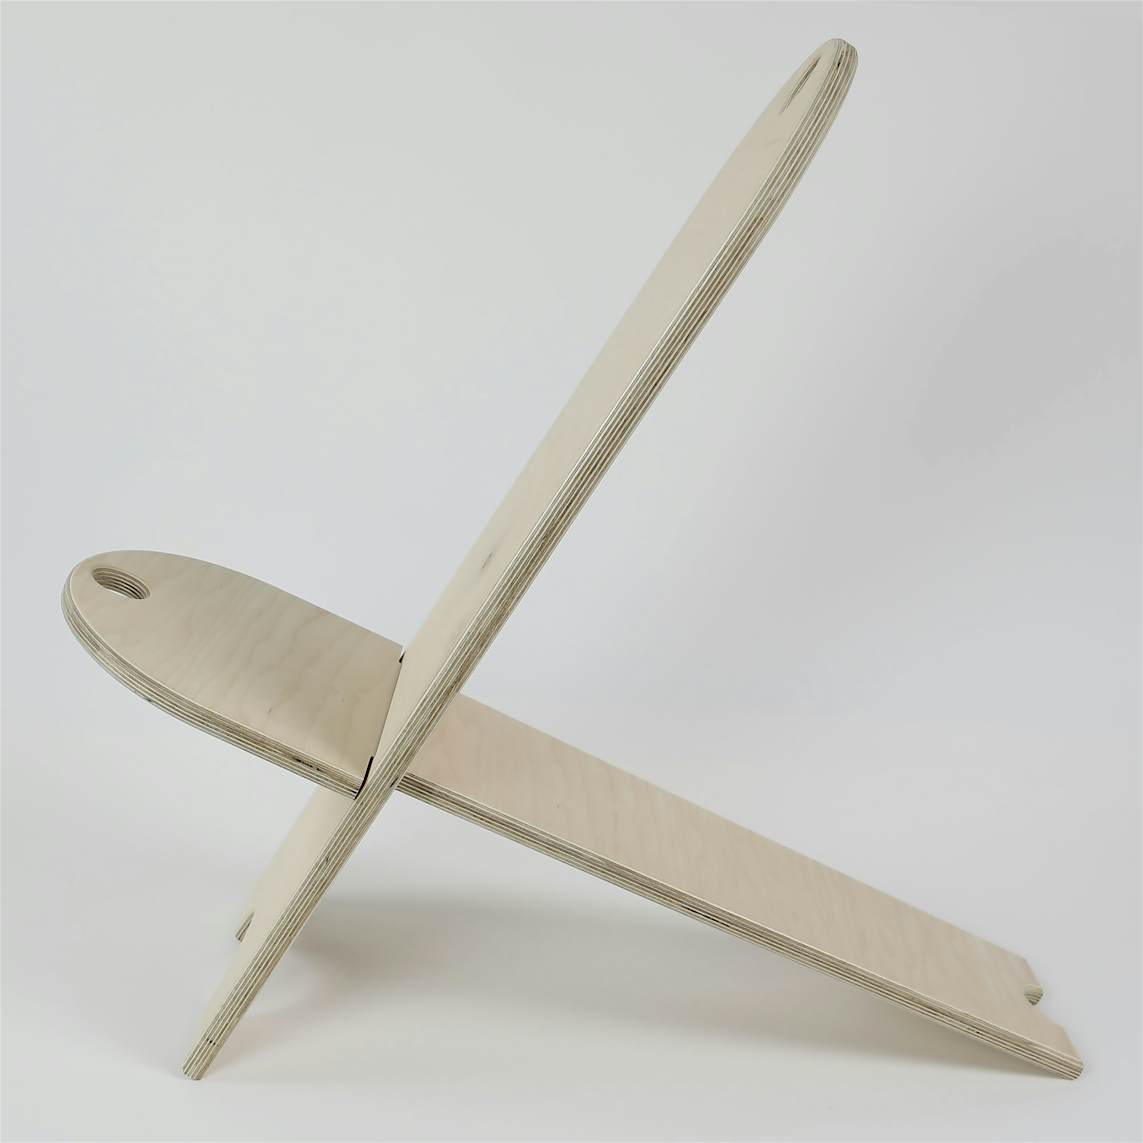
Viking Chair
By Shaper|BY-NC-SA 4.0 License|Created October 24th, 2017


45 min
Intermediate
44

Prepare your work surface
Place your spoilboard on top of your work surface.
We recommend using MDF. This is used so you can cut through your material without cutting up your work table. You can re-use this for future projects.
Place double-sided woodworking tape roughly 7in apart on top of your spoilboard in the area that you will be cutting. Then place your ¾” plywood for cutting on top of the spoilboard.
This helps hold down the parts that you are cutting so there is no chance of them moving while making cuts.
Clamp the plywood and spoilboard securely to the worksurface.
Always clamp materials to a work surface before cutting so that your materials will not move while you are cutting.
For more instruction on how to setup your workstation, click here.

Setup your workspace in Origin
Apply your ShaperTape to the general area that you will be cutting and in the area that the camera will be tracking while cutting. This design layout is 24in x 32in, so we recommend taping roughly 34in x 25in of work surface.
Plug in Origin, start a New Scan, and Scan your work surface.

Place design in your workspace
Place the chair design file in the workspace by tapping the “+” button at the top of the left side menu in Design mode.
Once placed, test your placement on the workspace by hovering over the edges of your design with the tool to make ensure you will be able to complete all cuts without running into camps, edges, or losing the view of the ShaperTape.

Install 1/4" Up-Cut Bit
Unplug and remove the spindle from Origin and install the 1/4" Up-Cut Bit into the collet. Re-install the spindle into the tool, plug it back in on the left side.
On screen, update the following:
Bit size: ¼” (.25in)

Update cut settings and cut the first pass of interior shapes
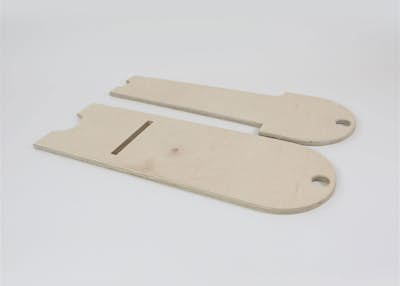
In this design we will be making 2 types of cuts: inside cuts for the interior shapes (2 holes,1 slot) and outside cuts for the exterior contours of the design. We recommend cutting the interior shapes first so that your work piece doesn’t move around while you are cutting.
Since our material is ¾” (.75in) thick, we will be making multiple passes over each cut line in order cut through the entire depth of the material. As a rule of thumb, we recommend only cutting as deep as your bit is wide in any one pass (eg- ¼” bit should only cut ¼” at a time).
Hover over the edge of one of the interior shapes and confirm/adjust the cut settings to:
Depth: ¼” (.25in)Cut type: InsideOffset: 1/32” (.03in)Bit size: ¼” (.25)Spindle speed (off screen): 6
Make a first cut pass over all the three interior shapes, plunging and retracting the spindle in between cuts. Clear away any excess shavings.

Update cut settings and make a ½” depth cut on the interior shapes
Hover over the edge of one of the interior shapes and adjust the following setting:
Depth: 1/2" (.5in)
Make a second cut pass over all the three interior shapes, plunging and retracting the spindle in between cuts. Clear away any excess shavings.

Update cut settings and make ¾” depth cut on the interior shapes
Hover over the edge of one of the interior shapes and adjust the following setting:
Depth: ¾” (.75in)
With this third cut, the center part of the circles will be cut free. This can be dangerous, as the loose material can bounce around and cause the bit to damage the inside of your hole. To avoid this, hold the tool firmly and finish the cut very gently, then retract the bit.
Make a third cut pass over all the three interior shapes, plunging and retracting the spindle between cuts. Clear away any excess shavings.

Update cut settings and make finishing pass on the interior shapes
To clean up the edges, do a finishing pass around each of the interior shapes. Hovering over the edge of one of the interior shapes, update the following settings:
Depth: ¾” (.75in)Offset: 0
Make the finishing cut pass over all of your interior shapes, plunging and retracting the spindle between cuts. Clear away any excess shavings.

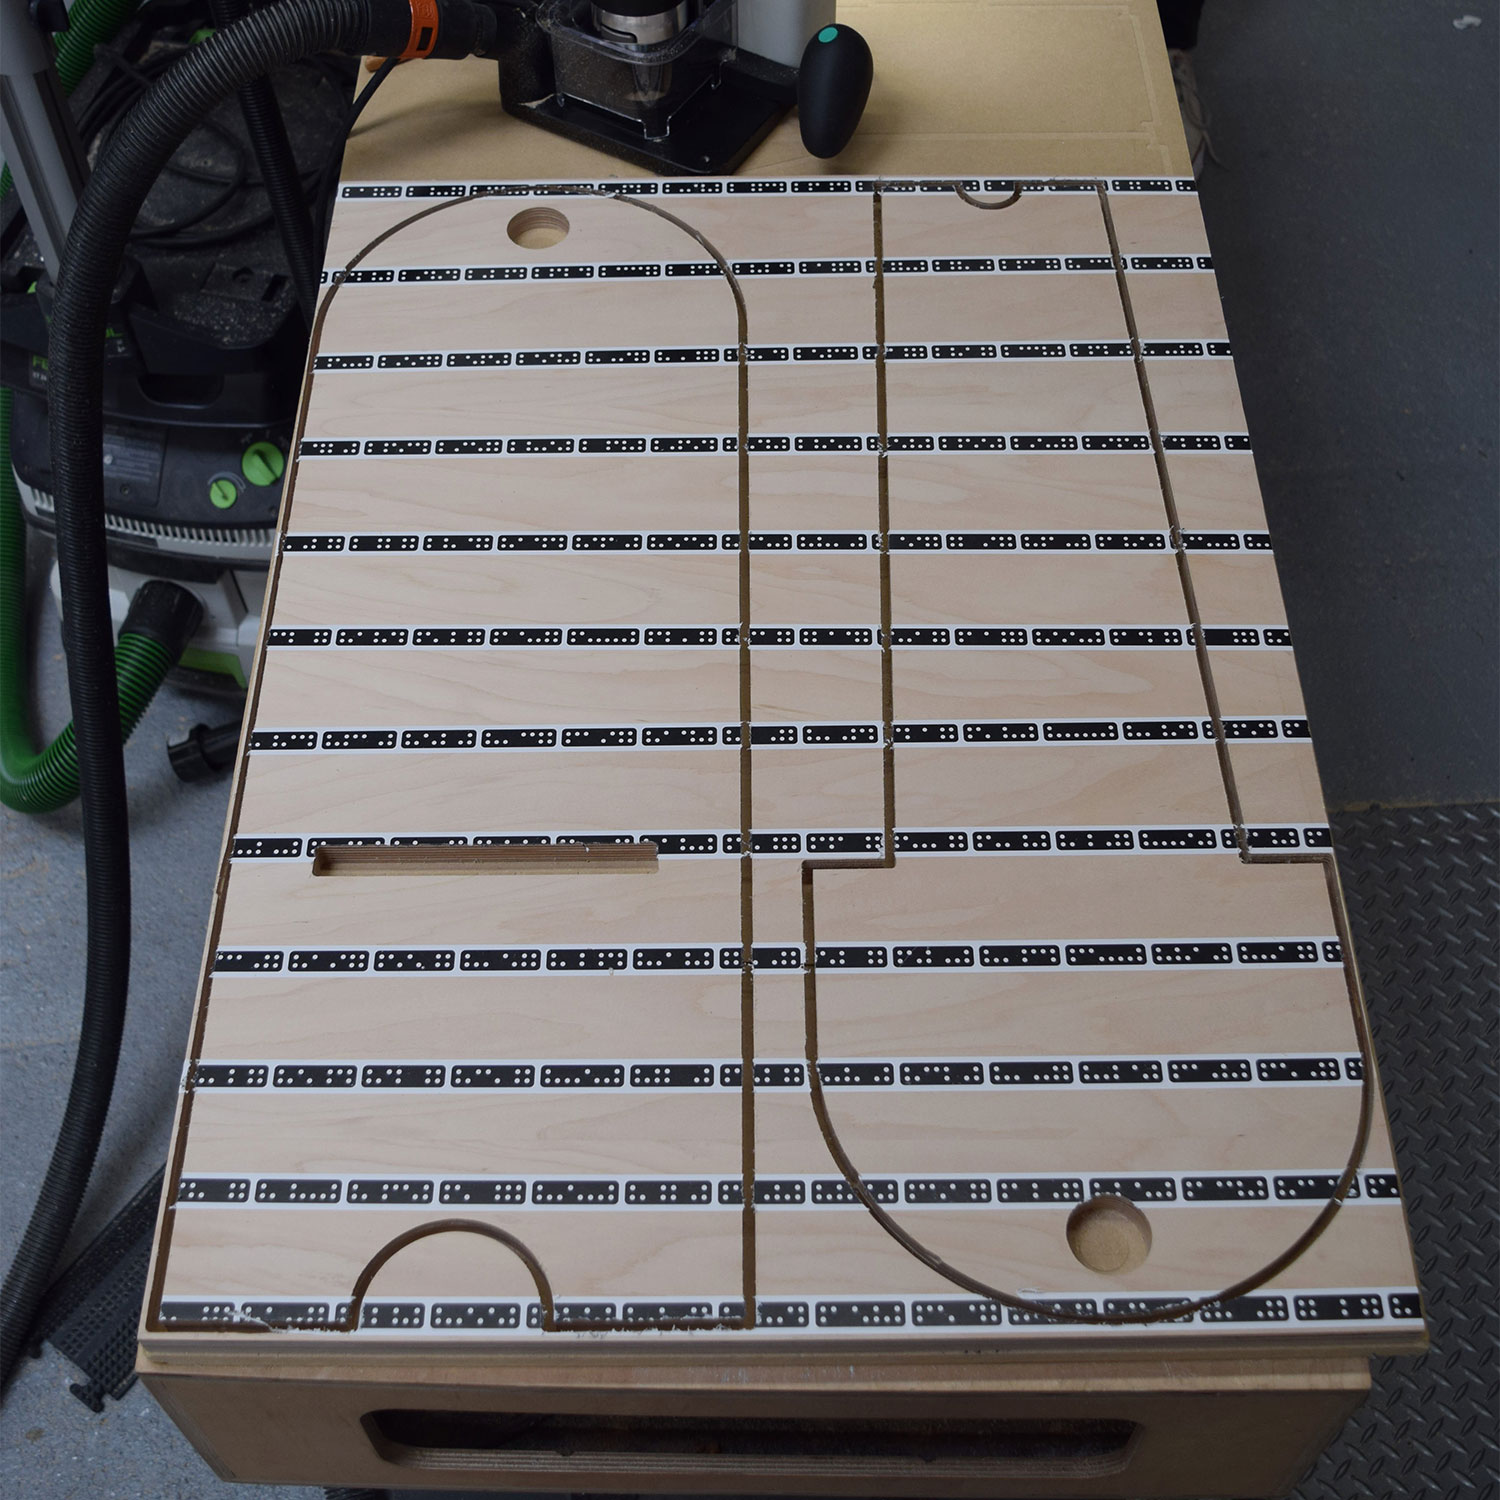
Update cut settings and make ¼” depth cut pass on exterior contours
Follow the same sequence of as the interior cuts with 3 depth cuts + finishing cut for the outside cuts. Hover over the edge of the exterior path of the chair and adjust the cut settings to:
Depth: ¼” (.25in)Cut type: OutsideOffset: 1/32” (.03in)Bit size: ¼” (.25in)Spindle speed (off screen): 6
Make a first cut pass over the exterior contours of the two chair shapes. Clear away any excess shavings.

Update cut settings and make ½” depth cut pass on exterior contours
Hover over the edge of the exterior cut of the chair and adjust the cut settings to:
Depth: ½” (.5in)
Make a second cut pass over the exterior contours of the two chair shapes. Clear away any excess shavings.
Update cut settings and make ¾” depth cut pass on exterior contours
Hover over the edge of the exterior path of the chair and adjust the cut settings to:
Depth: ¾” (.75in)
Make a third cut pass over the exterior contours of the two chair shapes. Clear away any excess shavings.

Update cut settings and make finishing pass on the exterior contours
To clean up the edges, do a finishing pass around the chair shapes shapes. Hovering over the edge of one of the exterior shapes, update the following settings:
Depth: ¾” (.75in)Offset: 0
Make the finishing cut pass over all of your exterior shapes.

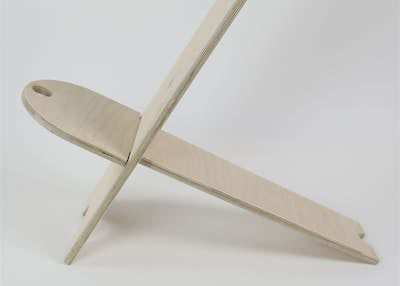
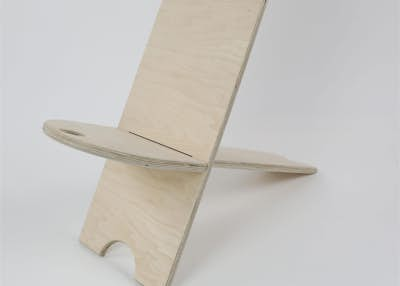
Finishing touches
Pop the finished pieces off of the spoilboard, removing any remaining tape.
We recommend prying out the cut with the back of your wrench or a flat head screwdriver.
Sand with 180 grit sandpaper to get rid of any "fuzz" around the holes and soften the edges so they are no longer sharp.
Alternative option: You can round the edges over with a ¼” round-over bit in a hand or table router. Round over all edges, except the mortise slot and the area on the seat right where the seat and back intersect.
Apply stain and/or finish to protect against wear. If intended for outdoor use, us an outdoor finish that will protect the wood from water and sun.

Congrats!
You’ve completed the project. Nice work!
Now go sit in your chair.