Scroll Floor Inlay
By Stilwell|BY-NC-SA 4.0 License|Created March 27th, 2019
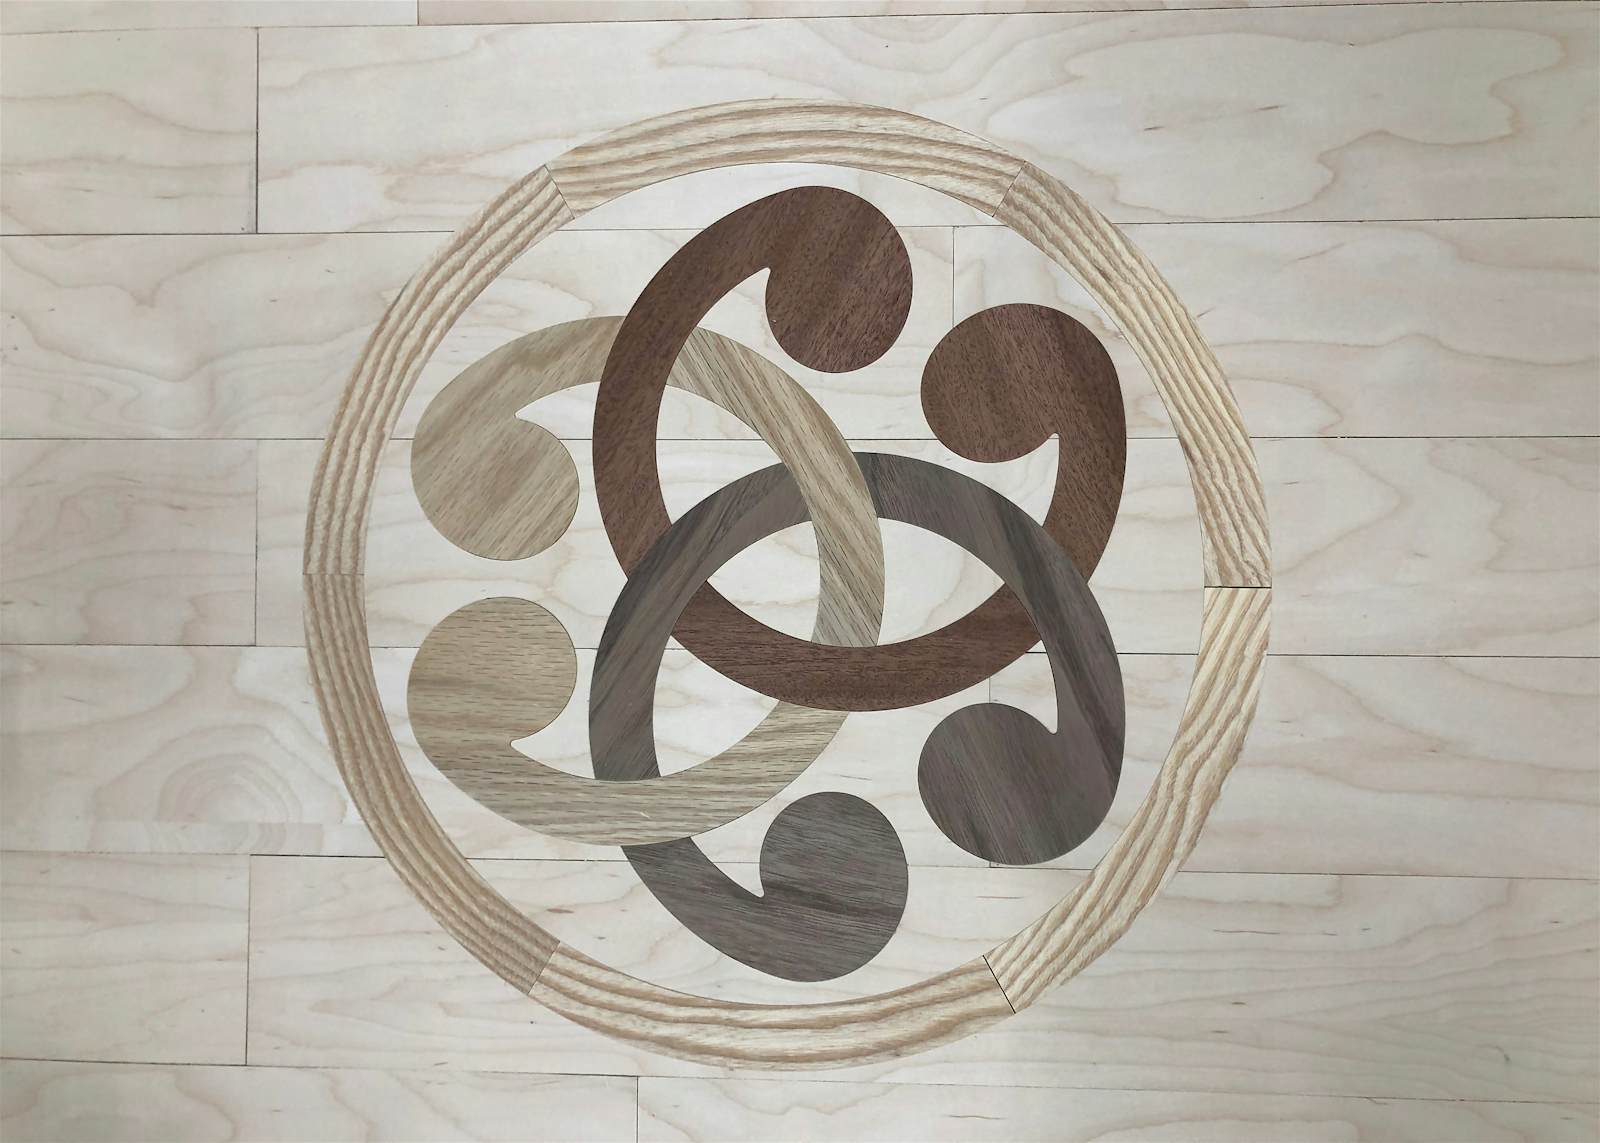

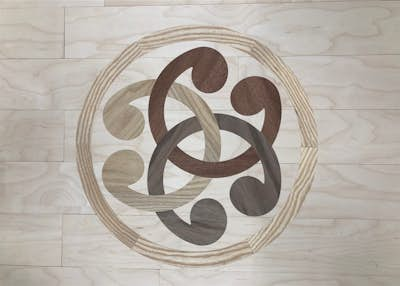


Interlocking scroll design ready to be inlayed into a wood floor.
16" in diameter.
1 hr 30 min
Intermediate
29
Files included (5)
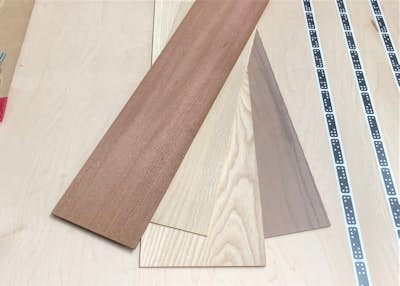
- 1/8" - 1/4" hardwood (4 species)
- Hardwood floors
- Wood glue
- Double Sided Tape
- 1/4" and 1/8" bits
- Shaper Origin
- Planer
- Bandsaw
- Sander
- Calipers
- Flexible metal scraper
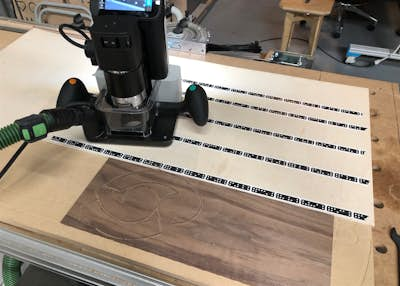
1. Resaw and Plane your material down to the desired thickness (1/8" in my case)
2. Use plenty of double sided tape to hold down your parts as you cut them out to a 0" offset using an 1/8" cutter.
**Note: You'll need a total of 6 pieces for the circle (so cut that file twice) and all three scroll pieces for each type of wood.
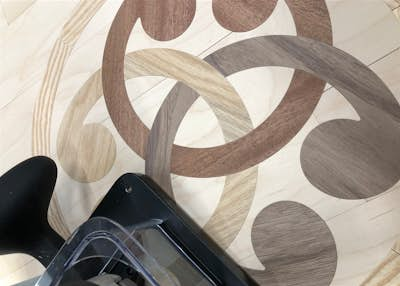
3. carefully pry up your pieces from the tape with a scraper or putty knife.
**Note: It helps to make a pencil mark on the back of the pieces to remember which face goes down.**
4. Place pocket file in your desired location.
5. Using calipers, measure the thickness of your pieces and set cut depth to that measurement.
6. Change to a 1/4" cutter and pocket all areas.
7. Change back to an 1/8" cutter and switch from pocket to inside cuts for all areas. Cut to an offset between 0" and -0.003" in appropriate passes. Test fit pieces as you go.
**Note: I found that there was a small gap between the last two pieces in the outer ring when I used the same offsets as the scrolls. It might help to cut the outer line to 0" and only apply negative offsets to the inner line. Always be test fitting.
8. Spread wood glue evenly inside the pockets and tap in all the pieces.
9. Once dry, sand flush and apply finish.