Balance Bike
By Marshal|BY-NC-SA 4.0 License|Created August 22nd, 2018
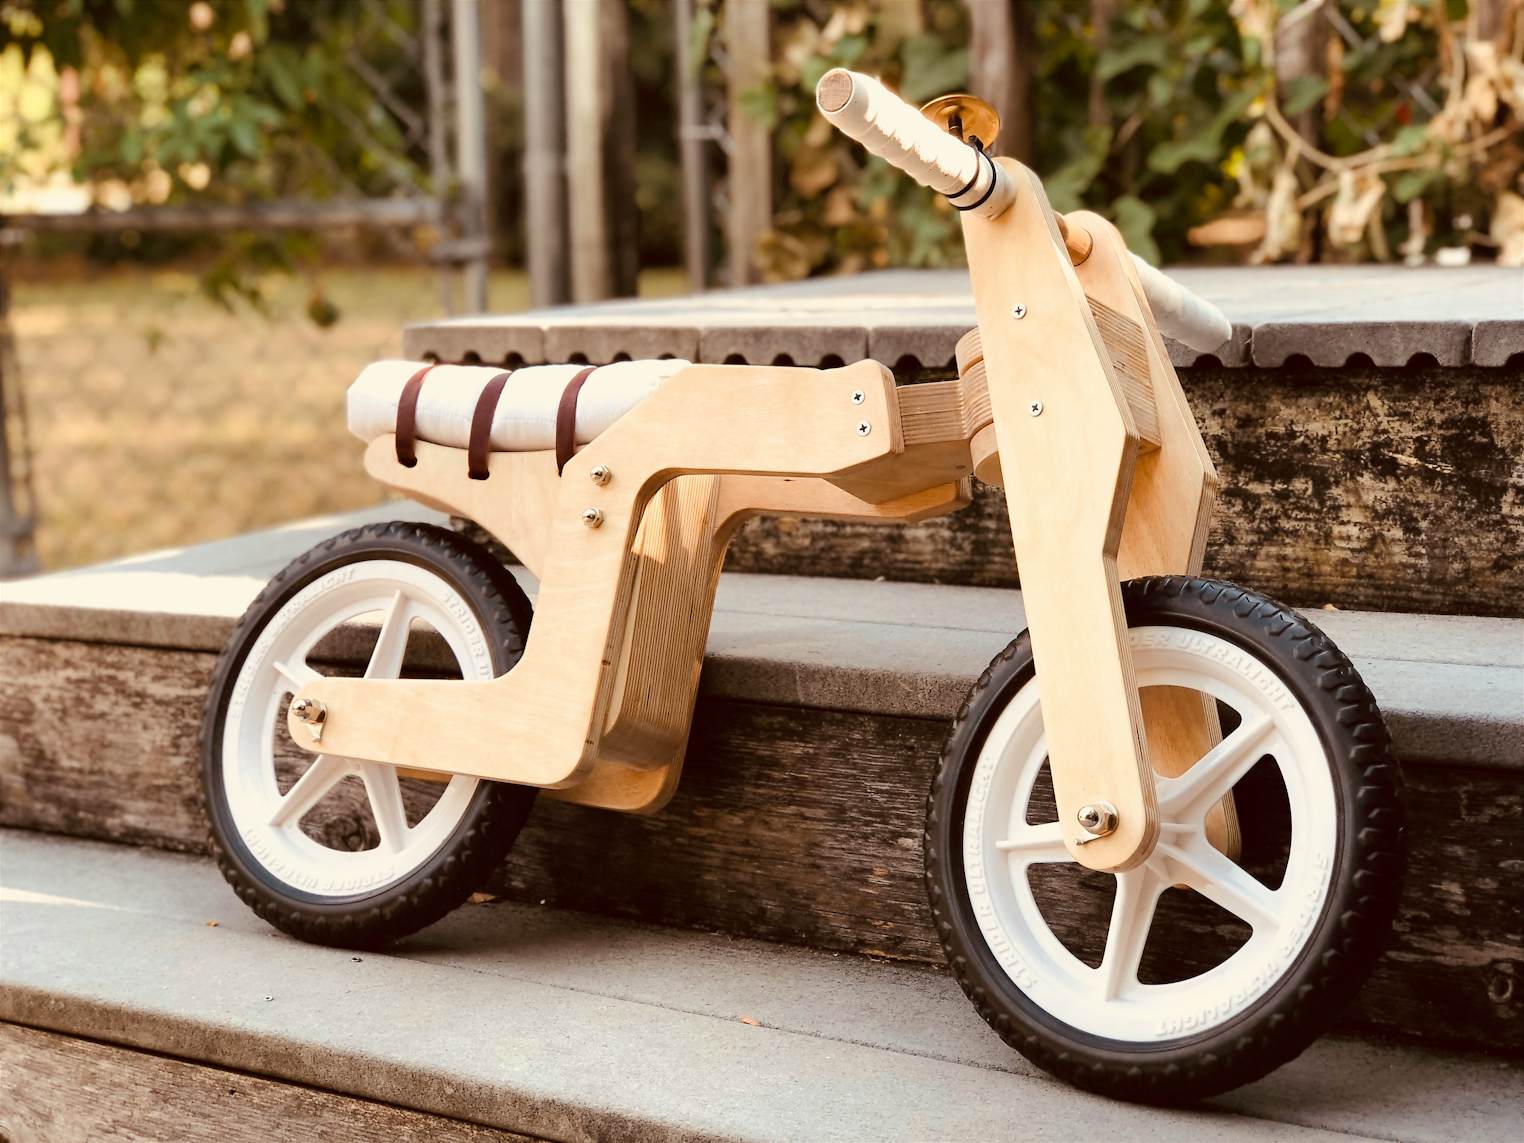

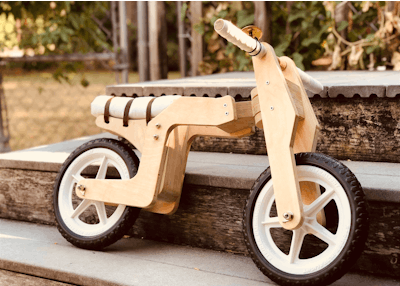


A simple, sturdy balance bike for pre-bicycle children.
2 hr
Intermediate
140
Files included (1)
- 24" x 24" x 3/4" nominal -- 23/32" actual -- plywood (x1)
- 4.5" - 5" x 1/4" O.D. joint connector bolt, hex bolt, or threaded rod + complimentary nut (x2) and washer (x4)
- 3" - 3.5" x .25" O.D. hex bolt (x1) + complimentary nut (x1) and nylon washer (x2)
- 17" x 7/8" O.D. dowel rod (x1)
- 1" - 1.5" screw (x8)
- 5/8" O.D. x 1/4" I.D. x 3/8" nylon spacer (x8)
- Handlebar tape (x1) + complimentary electrical tape (x1)
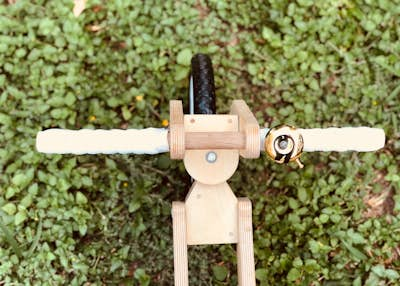
- Bicycle bell (x1)
- 12" nominal Strider brand Ultralight wheels (x2)
- Seat padding
- 12" x 1/2" leather strap with buckles (or velcro straps or anything similar) (x3)
- Sandpaper (320 is fine)
- Wood sealer/ finisher + application method
- Wood glue
- 1/4" dowel pin ( x ~14)
- Shaper Origin
- Drill
- Screwdriver
A balance bike is an excellent introduction to bicycles for children as young as 1.5 years old and up. They quickly get the knack of walking their balance bike around, learning how to steer, how to balance, and how to keep from tipping over. With a little time, they are able to comfortably glide around with their feet off the ground, and from there, they can make the transition to a bicycle quite easily.
This design is appropriate for children with an inseam (while wearing shoes) of 13" to 25" as the seat is height adjustable in 1-inch increments.
The following notes, the provided pictures, and the included SVG (which is annotated) should pretty much get you where you need to go for this project, but if an aspect is unclear, you need some guidance, or you need advice on modifications, do not hesitate to send me a message!
Also be aware that your hardware components will need be longer or shorter if the actual thickness of your wood is greater or less than 23/32". Similarly, if you use a wheel other than Strider's, you might need to modify axle holes in the body and the forks accordingly.
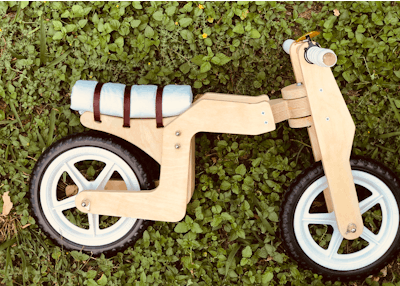
The components you need to build and assemble essentially fall into 4 categories:
1) The seat
2) The body
3) The steering hinge
4) The forks and handlebar
A few notes on construction:
The seat and the hinge both employ dowel pins and wood glue. Depending on your preference, you can either pocket out a space for the pins or cut straight through. Be mindful of your dowel pin lengths so as to prevent the ends of your pins from falling at or near where two faces lay against each other. Ideally, the middle of your pins will fall directly where the two faces meet, providing the strongest possible bond. These dowel pins are called out in the SVG.
The hinge is made of 6 total blocks of wood, which are pinned and glued to become 2 separate components: 2 pieces become the "back" hinge, which is held inside the body just in front of the seat, and 4 pieces become the "front" hinge, which is held between the forks, just below the handlebar.
The "front" hinge is made of two spacer blocks, which look like rectangles missing a half-circle chunk, sandwiched between two action blocks, which look like rectangles with an extra half-circle chunk.
Cut a pocket at least 1/4" deep into the two action blocks of the "front" hinge to prevent the inside of the "front" hinge from rubbing against the outside of the "back" hinge. This pocket is called out in the SVG.
To connect the two hinge components, I used nylon spacers hammered into center holes cut in the hinge action pieces. Nylon spacers fit nice and snug and protect the wood from your metal hinge pin, the 3" - 3.5" hex bolt.
You'll want to slide the forks onto the handlebar dowel before screwing the front hinge into place, otherwise you risk that screw connection becoming compromised during handlebar installation. You'll probably need to sand the handlebar a bit to achieve a nice snug fit. After installing the handlebar tape, you'll notice that handlebar isn't going anywhere.
The seat is held inside the body using the two 4.5" - 5" joint connector bolts, hex bolts, or threaded rods with their complimentary nuts. Whatever type of hardware you use, make sure that it can be easily removed so as to adjust the seat height as necessary.
I highly recommend Strider's Ultralight wheels for this project as they ship with all necessary hardware, they are made of solid EPDM (and therefore require no air), are available in a variety of colors, and are well constructed.
You can use whatever material you like for the seat padding. On my nephew's bike (the bike pictured), I used a padded pillow sham, which is machine washable and trivial to replace. The seat padding is held in place using three 12 inch straps, which I made out of leather. If you don't have leatherworking tools, you can almost certainly convince your local leathercraft supplier to let you borrow theirs for the 5 minutes it takes to cut the leather to length, punch a couple of holes, slide on the buckle, and rivet together a loop. Or you could just buy three straps :)
Thanks for reading!