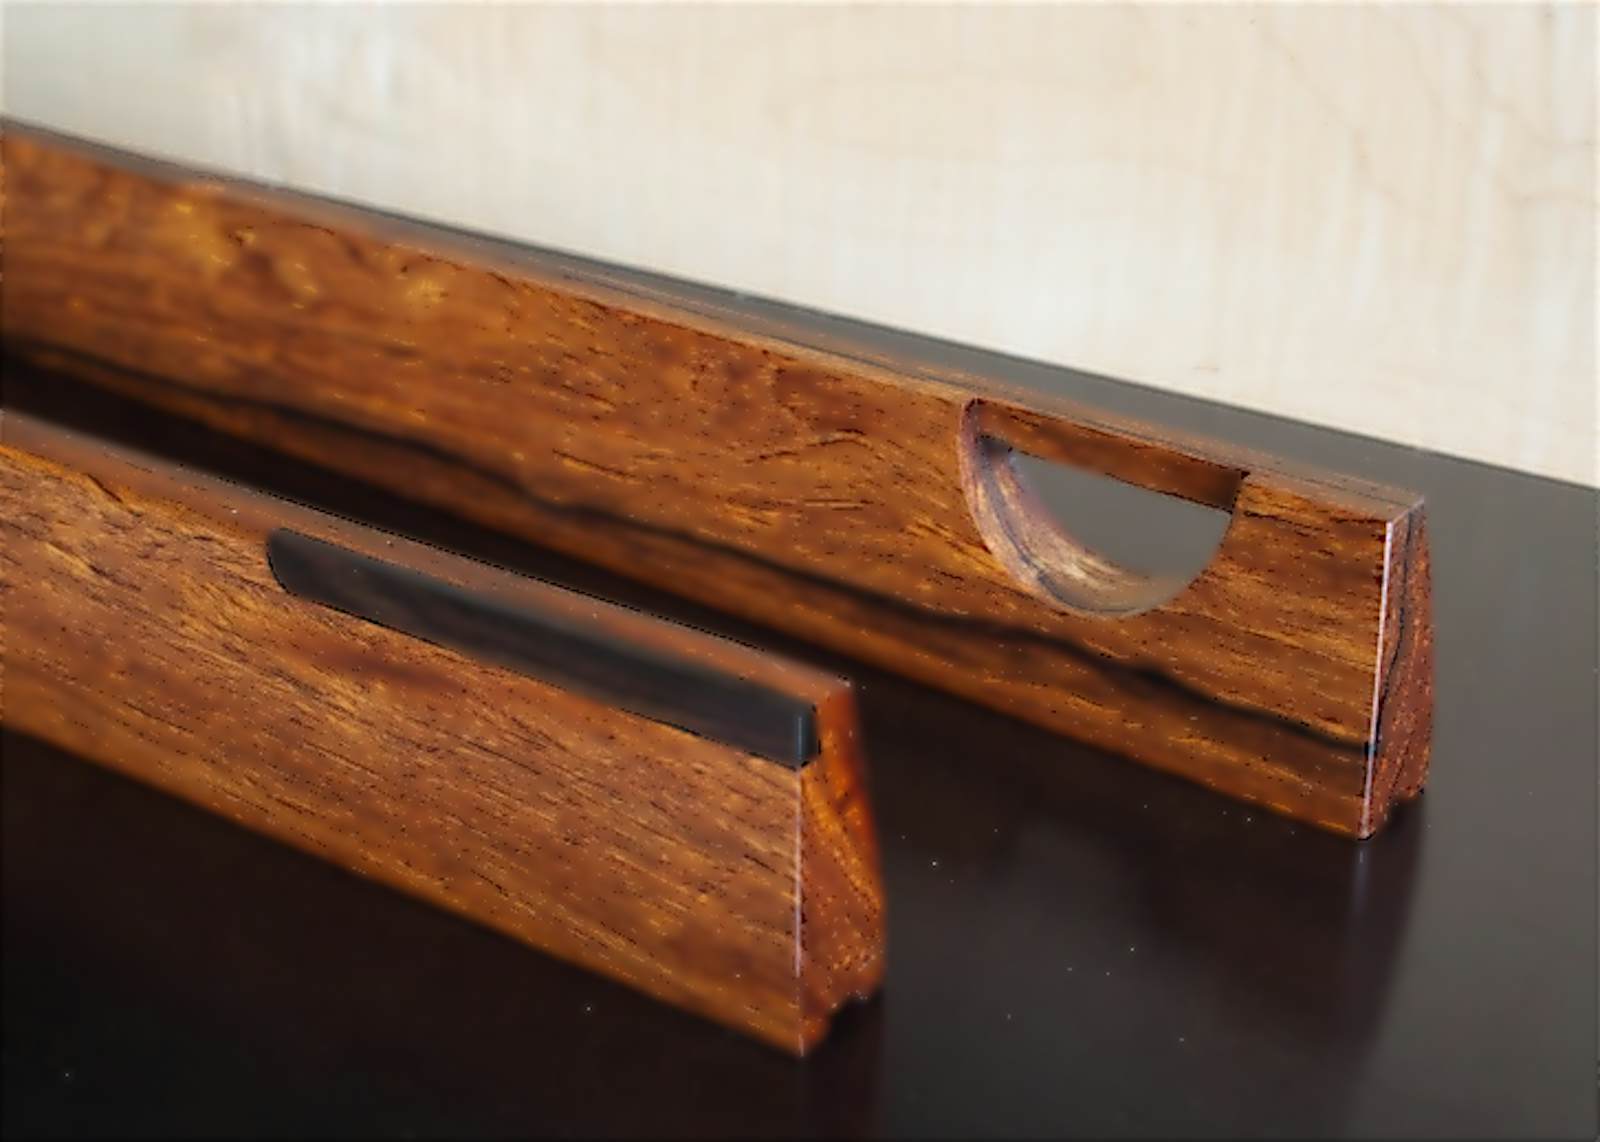
Half Moon Winding Sticks
By Prof_Snipe|BY-NC-SA 4.0 License|Created May 5th, 2019


Pattern for winding stick half-moon cut.
20 min
Easy
11
Files included (1)
Two pieces of stable wood, ~2 inches high and between 20-24 inches long with flat and parallel top and bottoms.
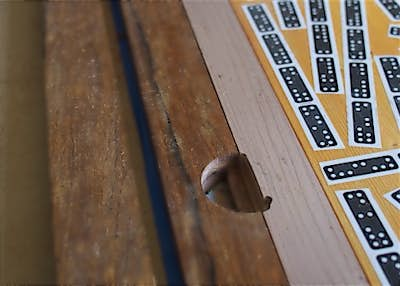
Old school meets new school...though rarely used these days, winding sticks were once an essential part of a good woodworking shop and was a tool used to help remove twist from boards when manually leveling them. The winding stick was placed one on each end of the board to be flattened then sighted along the top. Twist or unevenness of the board showed up as non-aligned tops. Plane, sight, repeat until flat. Although winding sticks looks quite primitive, they're actually very sensitive. The third photo shows the winding stick in use on a flattened board where a piece of paper was placed on one side (towards the back). The paper thickness is sufficient to show a discrepancy between the front and back.
The most common winding sticks are just two sticks with perfectly flattened tops and bottoms. Because it's sometimes difficult to sight the two sticks, a contrasting piece of wood is sometimes used for the rear piece, the deluxe version of which is the half-moon design that uses a hole in the rear piece which makes it much easier to see unevenness.
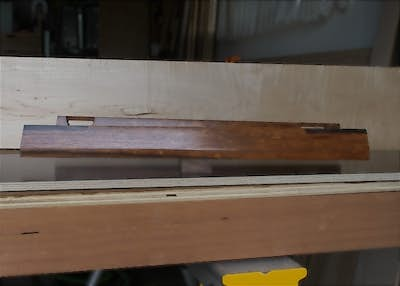
The included pattern assumes you already have a flat, parallel piece of wood cut to size. Align/adjust the half-moon pattern so it aligns correctly at the top and sides of your stick. Cut the pocket portion then the inside cut. On mine, I added a bevel and cut a groove on the bottom.