Simple Puzzle
By BrianEkins|BY-NC-SA 4.0 License|Created September 19th, 2018
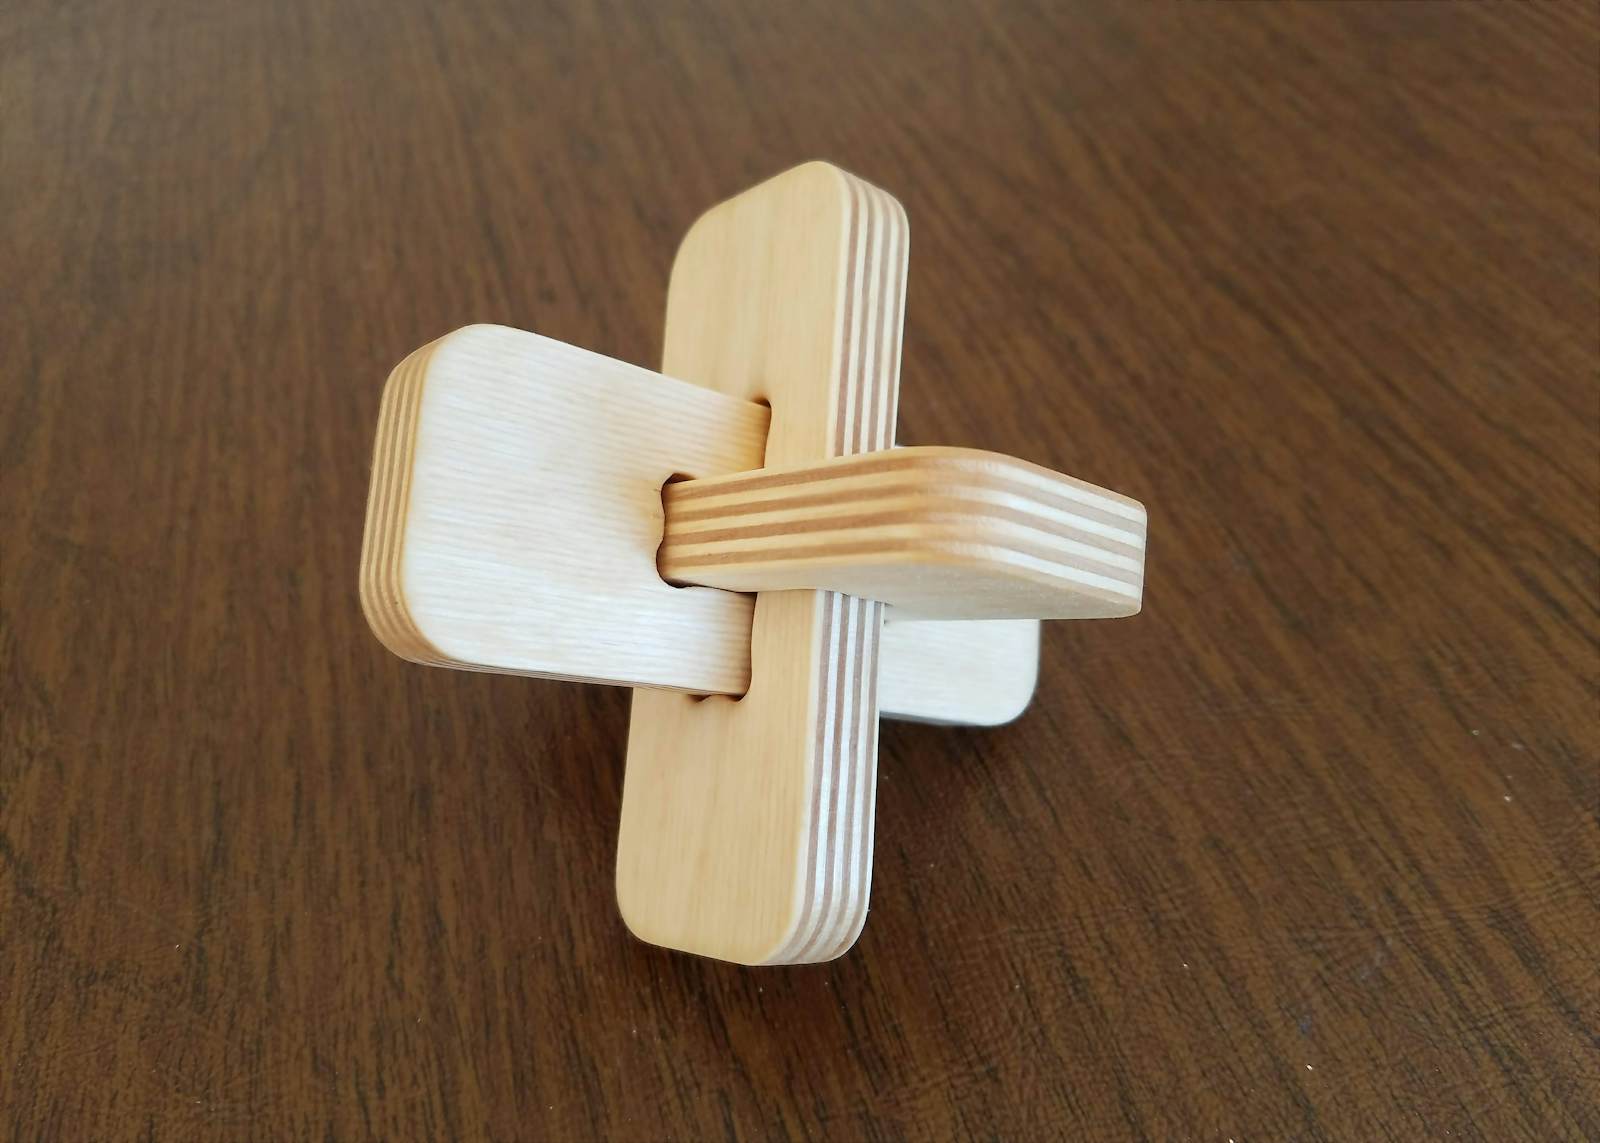

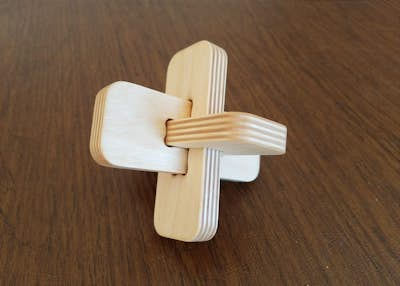


Here's a very easy project that is great for beginners and is also a way to use up those small scraps from other projects.
It's a three-piece puzzle that isn't immediately obvious how to do but also isn't so hard that people will quickly become discouraged.
20 min
Easy
83
Files included (3)
Almost any scrap wood; solid or plywood.
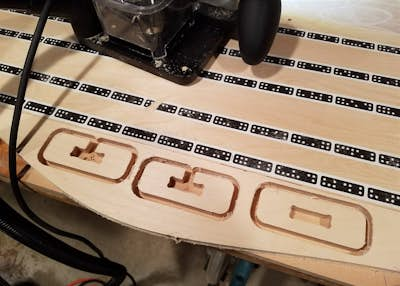
Shaper Origin and 1/4" bit.
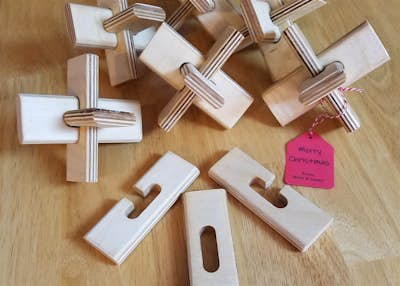
This is a quick and easy project that can use any scrap wood you have laying around from previous projects. The only requirement is that it needs to all be a consistent thickness. The example in the photos is made using 1/2" Baltic birch.
1. Accurately measure the thickness of your wood. The more accurate the better so calipers are recommended.
2. Open the attached SimplePuzzle.f3d file in Fusion 360 using the "New Design From File" command within the File menu of Fusion 360.
3. Run the "Parameters" command from the "Modify" menu and change the value of the parameter named "Thickness" to the thickness of your material. You can also change other values to modify the model in any way you would like. The parameter named "Gap" controls the size of the gap between pieces. A smaller value here will result in a tighter fitting puzzle and a higher value will create a looser puzzle.
4. Use the "Export to Origin" command in Fusion 360 to export the body in the Piece1 component and also export the body in Piece2.
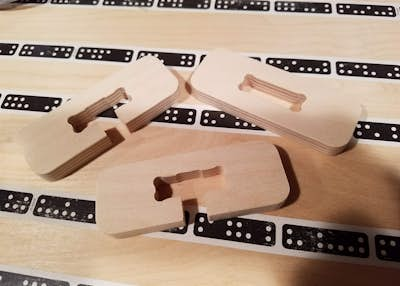
5. Cut out one of Piece1 and two of Piece2. As you can see in one of the images above, I have a separate board with Shaper Tape applied and a narrow scrap board beside it. I was able to cut all three pieces from that board. A single strip of double-sided tape, along with a clamp out on the edge of the board, kept everything neatly in place during the cutting.
6. Lightly sand and apply a finish of your choice.
Here's a video that illustrates how it goes together. https://youtu.be/4vhOu0v7byc
I've gone ahead and added the SVG files that I used to cut the model shown in the pictures. However, I strongly urge you to download the Fusion 360 f3d file, set the material thickness, and output your own SVG files because the correct shape is very dependent on the material thickness. My material was 0.48 inches thick.
I have another version of this same puzzle that I wrote up in the forum that you can see here: https://community.shapertools.com/t/looking-for-easy-christmas-gift-ideas/1835/13.