Yin Yang Cutting Board
By CharlieM|BY-NC-SA 4.0 License|Updated February 25th, 2020
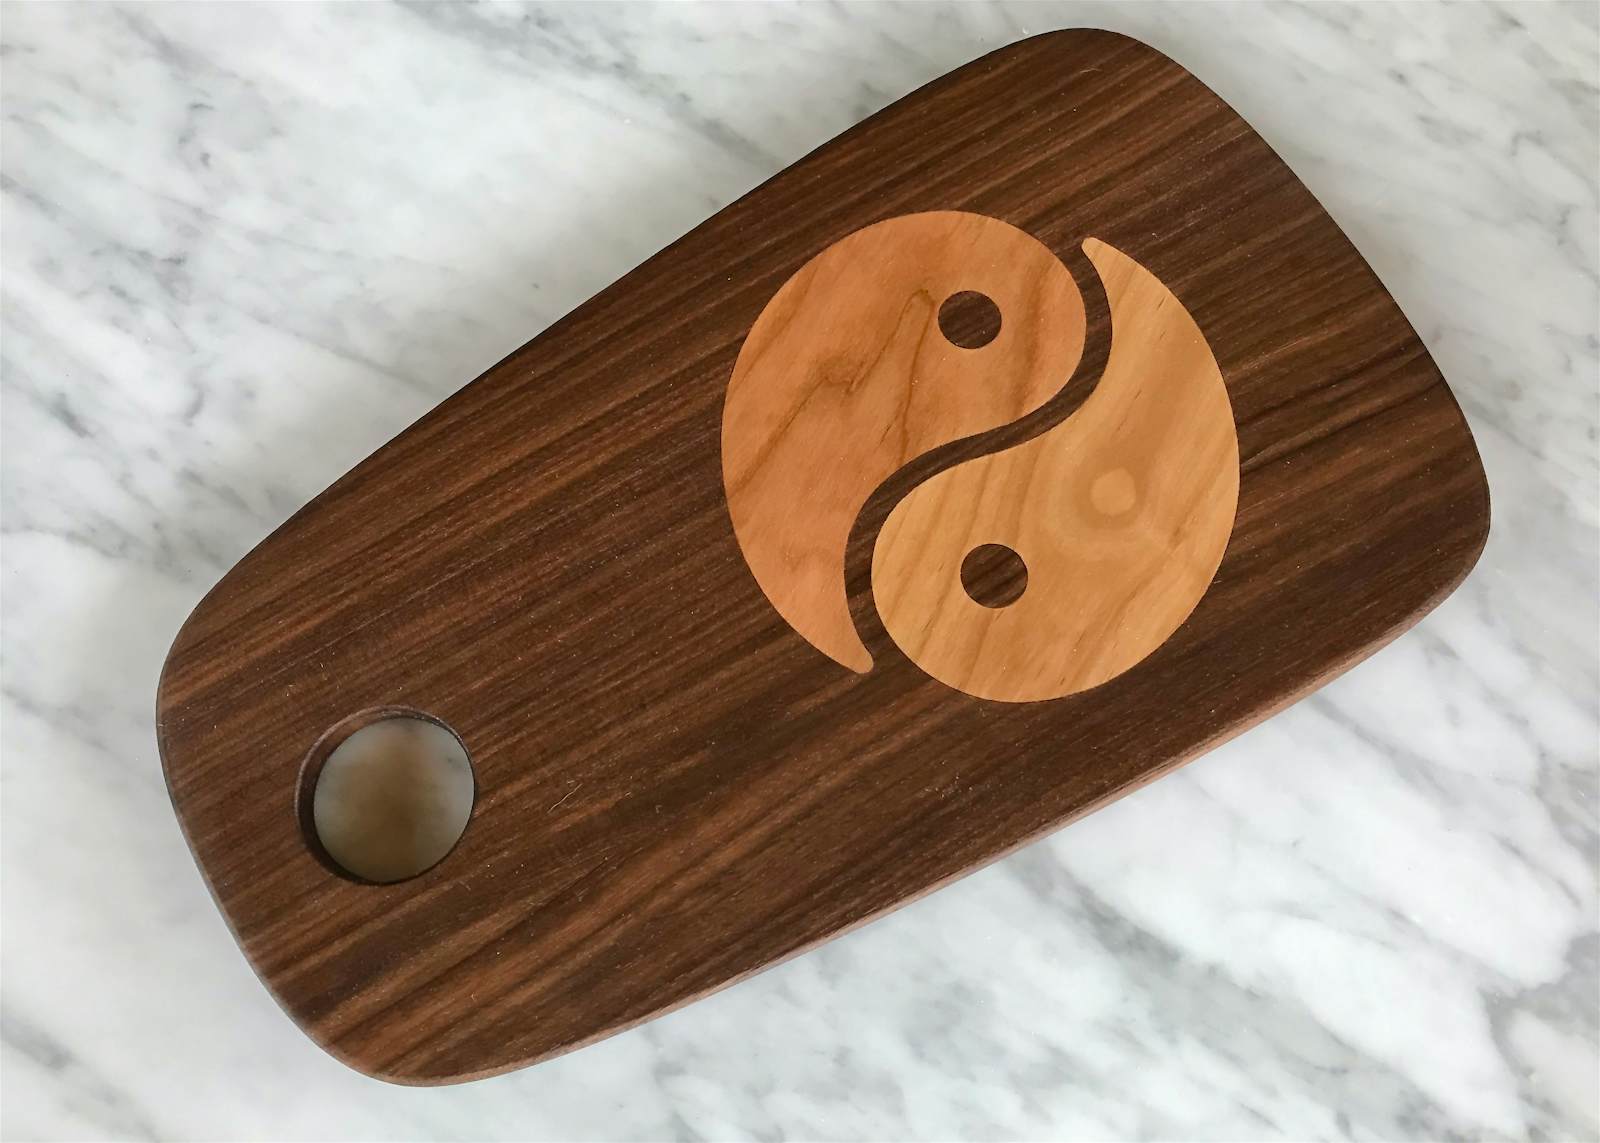

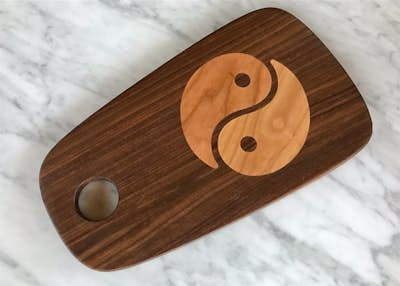


A simple cutting board with a Yin Yang inlay.
40 min
Easy
26
Files included (4)
All units are inches.
(qty. 3) walnut board 3/4 x 3.5 x 16
(qty. 1) thin cherry 4.5 x 16 x 1/8
Cutting board wax.
1.) Shaper Origin and 1/4" cutter
2.) Trim router with 1/8" rounding bit (or use a sanding block)
4.) Clamps
3.) Orbital sander
1.) Edge glue the three boards to create a 16 x 10.5 blank. Sand or plane to a smooth surface on both sides.
2.) Cut the inlays from the thin stock, using an offset of 0.000" for both the outside shape and the inside hole. You will have to place the design twice to get both inlays.
3.) Cut the inlay pockets on the board, at a depth of 0.10". This took several steps, and some care, due to the interior circle:
a) Using a -0.003" offset, do an inside cut on the perimeter of the tear drops.
b) Using a -0.003" offset, do an outside cut on interior circles.
c) Complete with a pocket cut, being _very_ careful not to cut into the interior circles.
4.) Finish cutting the board outline and finger hole.
5.) Round over the edges with a router or a sanding block.
5.) Glue the inlays into the pockets, by taping in gently with a block of wood and a mallet.
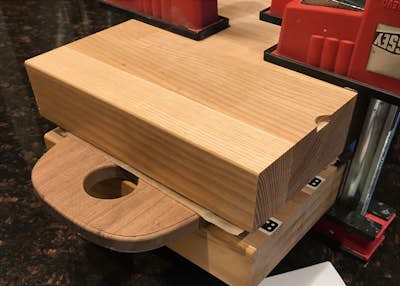
6.) Cover with wax paper, and clamp between some sturdy boards.
7.) After the glue has hardened, trim the inlays flush with an orbital sander or planer.
8.) Final sand with 220 grit paper.
9.) Finish with cutting board wax.
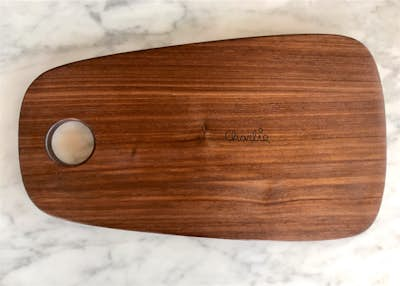
10.) Extra credit: Engrave your signature on the back, fill with tinted epoxy, and sand down. I've settled on a 1/32" diameter bit, cutting depth 0.06".
Notes:
Actually any hardwood will work. Rockler is a good source for nicely milled hobby woods. I got a nice 1x4x48 walnut board from Home Depot and cut into three lengths, and likewise ripped a 1x6 cherry board into >1/8" slats and planned to 1/8" in the planer.
The svg files have blue bounding boxes, which fit the material dimensions. Just make a grid with (0,0) at the lower left, and place the design there.
The cutting board shape comes from the nice collection of Shaper provided cutting boards.
Through trial and error, I've found the -0.003" offset to work really well. The inlays are tight, but the glue helps to lubricate them, and they generally press in well. Just take your time tapping them in. I make sure that there is glue all around the edges in order to squeeze out of the gaps, and a sparing amount of glue in the interiors.
I've tried many different cutting board treatments, and have decided that the best are those that are 50/50 mineral oil and bees wax. Boos Block is one such brand. I will turn the light on in the oven and put the board in there while applying 6 layers of wax. This warms it up just enough to make the wax sink in readily.