Mini Ramekin Stand with Drawer
By Ilan|BY-NC-SA 4.0 License|Created March 6th, 2019
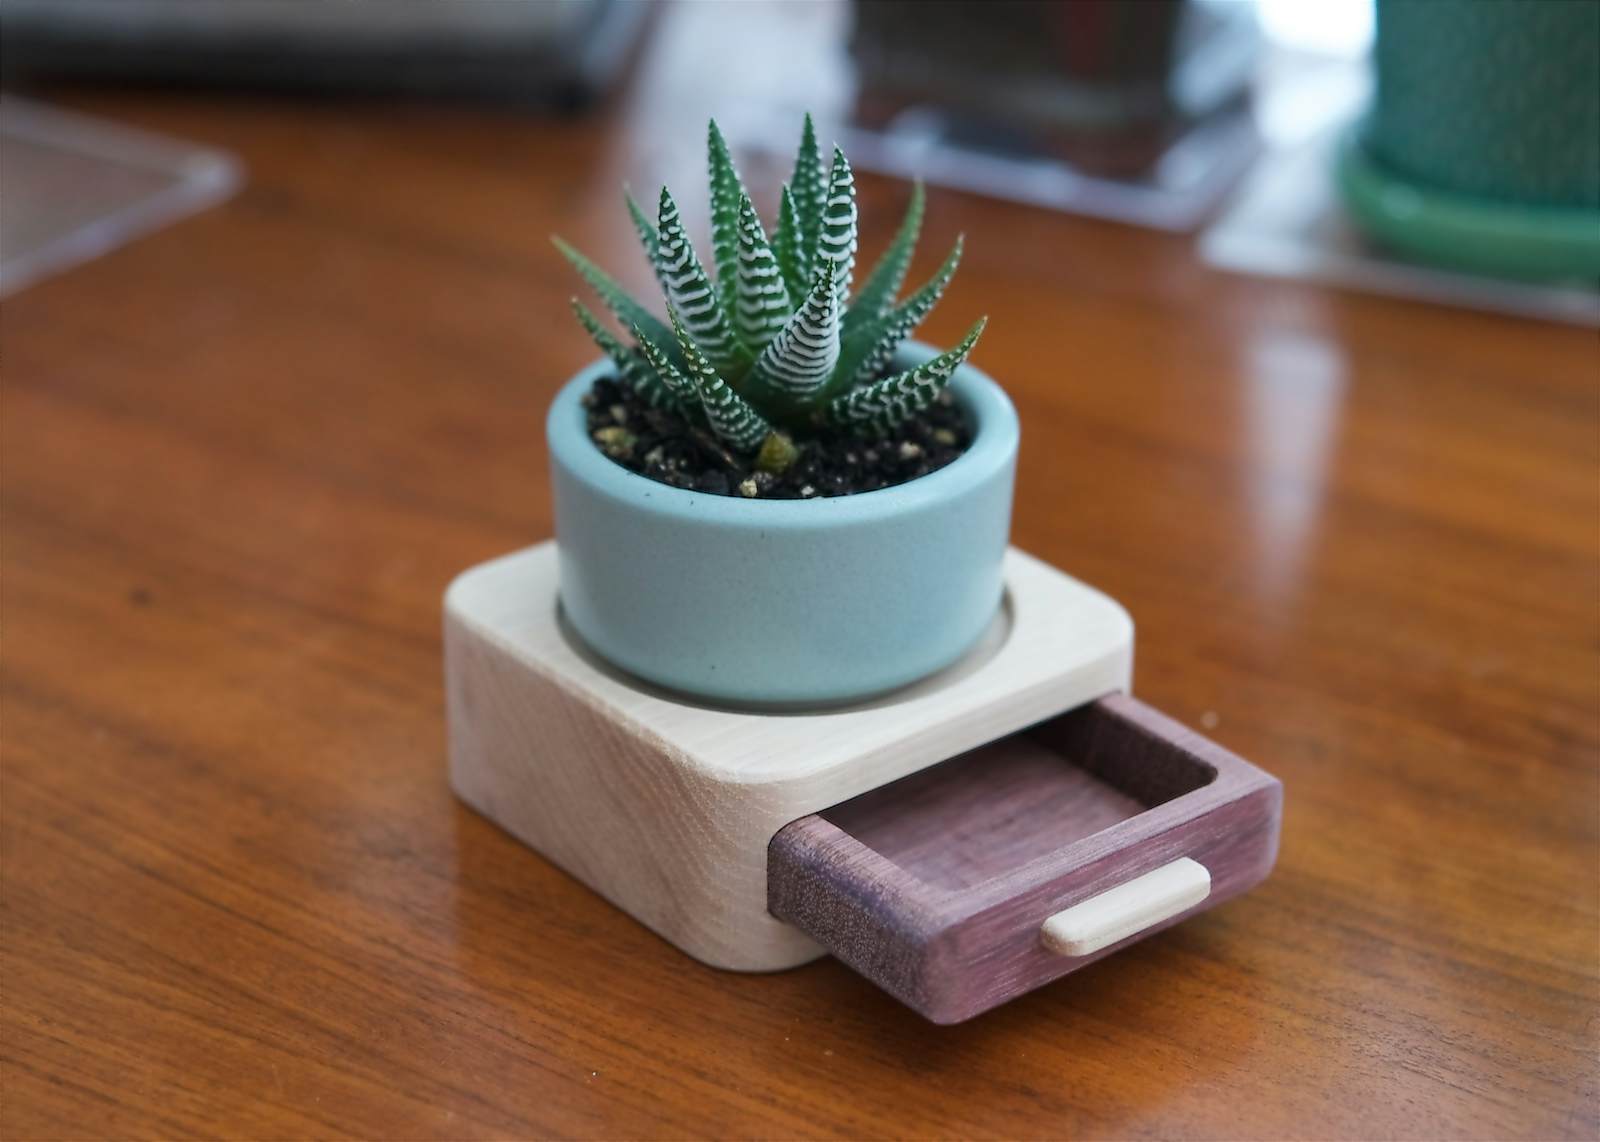

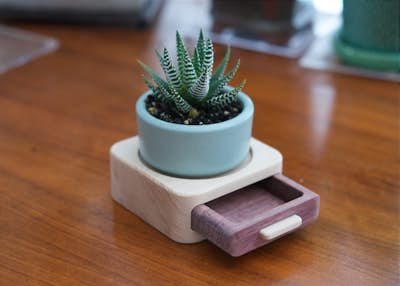


Designed entirely using on-tool CAD, this miniature Ramekin stand incorporates a drawer for tiny knick-knacks. One of the things I love about designing on-tool is that you don't need to have a fully formed idea of the finished product when you start; you can keep making changes as you go, which for me is a more natural and satisfying way to work. I've since gone into illustrator and created design files matching what I did on-tool, so that I could share them with the community.
1 hr 30 min
Intermediate
87
Files included (7)
Hickory
Purple Heart
Heath Ceramics Miniature Ramekin
Mini Succulent
Shaper Origin
8mm x 42mm LOC Spiral Up-Cut Router Bit
8mm Collet for Origin Spindle.
1/4" Spiral Up-Cut Router Bit
1/8" Spiral Up-Cut Router Bit
90˚ Chamfer Bit (Optional)
60˚ Engraving Bit (Optional)
Note: I'll describe below the steps I did, which involve on-tool CAD. However, you can also use the attached files instead.
----- STAND BODY -----
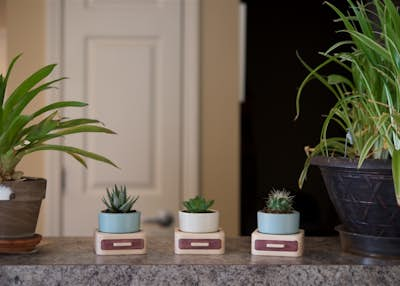
1) I started out with what I believe was 8/4 hickory, and planed it down to 33mm thick. I rough-cut it long enough to fit three of these ramekin stands side-by-side.
2) Taped down the material, established a grid off its edges, and drew three 80x80mm rounded rectangles as the perimeters of each stand. In the middle of each I placed a 68mm circle for the pocket where the ramekin sits.
3) Pocket out the circles using an 8mm bit to a depth of 4mm. Afterwards, since it's impossible to get a follower-bit chamfer tool into such a shallow pocket, I used a 90˚ chamfer bit in Origin to buzz around the pocket and chamfer the edge. My trick for this is to set the bit diameter to 2mm, and then set the depth to 1mm + whatever chamfer depth I want. In this case I think my depth ended up being around 1.5mm.
4) Cut the perimeters of each stand using the 8mm cutter.
5) Flipped the stand on its end in a vertical workstation, established a grid, and drew the 68mm x 17mm opening for the drawer slot. I then cut this at least 41mm deep (40mm, or half the depth of the stand, plus some buffer). Cutting that deep is a bit tricky, especially near the corners. Two of the three stands worked out OK, but overshot a corner slightly in the third on the last pass! Just a reminder to move very smoothly.
6) The result of the last step is a drawer slot too shallow for a real drawer. So I flipped the stand on its back and cut out a relief pocket for the drawer using a 1/4" bit. This pocket is 68.5mm wide and 40mm tall. It's just a bit wider than the drawer slot to guarantee it mates up correctly. Then a shallow (4.5mm) lip in which to inlay some purple heart to cover up the pocket. This end result is a deep cavity for the drawer.
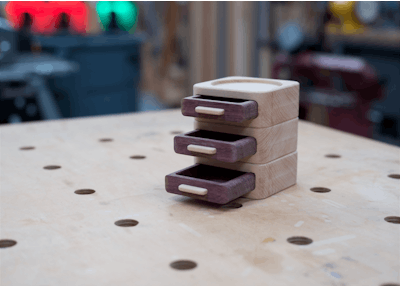
At this stage, the stand body is complete. What remains is the drawer itself and the little drawer pull.
----- DRAWER -----
7) Planed down some purple heart to a thickness of 17mm, and rough cut it to a size that would accommodate three drawers (each drawer is 67.5mm wide and 74mm tall).
8) Established a grid, and cut a straight line near the front of the piece. This will be the front face of all three drawers.
9) Drew the perimeter of each drawer using a rounded rectangle. This part was slightly tricky, because the front corners are not rounded, but the rear corners are. So I drew a rectangle the correct width (67.5mm), but about 10mm longer than needed, with a corner radius of 8.5mm. Then I selected the rear center anchor point, and placed the rounded rectangle 74mm from the edge I first cut. The result once you cut it is a rectangle with only two rounded corners! As a quick aside -- the width of the drawer is 67.5mm to give a bit of clearance on the 68mm wide drawer slot. And the corner radius is 8.5mm to give a bit of clearance on the 8mm radius of the pocket in the back of the stand that creates the rear of the cavity for the drawer.
10) Before actually cutting the perimeters of the drawers, I drew and cut rectangular pockets in each drawer. These are 52mm wide and 62mm tall, with a corner radius of 3.5mm (just a hair bigger than the 1/4" cutter radius). I cut these to a depth of 12.5mm, leaving 4.5mm of wall on the bottom.
11) Flipped the drawer on its end in the vertical workstation, so the front face is upwards. Then I drew and cut a 28mm x 4.5mm slot in the face to receive a small drawer pull. This slot is 3mm deep.
12) In order to fit the drawer into the slot, the edges of the drawer need to be rounded, as the slot has 4mm radius from the 8mm diameter cutter. I simply did this on a router table, with a round-over bit whose radius was slightly larger (3/16" rad. I believe).
----- DRAWER PULL -----
13) I cut out the drawer pulls from a 4.5mm sheet of hickory (that I created by re-sawing some of my 8/4 stock and then sanding by hand). Each drawer pull is 28mm wide, and 8mm tall. I used a similar technique to above to get 2mm radius corners in the front, and a flat face in the back.
14) The slot for the drawer pull has radiused corners, so I just used sandpaper to round over the tiny drawer pull. I think the hand sanding (rather than attempting to round it over on a machine) actually makes it a bit more friendly and wabi-sabi.
----- BOTTOM COVER -----
15) Resawed some of the purple heart to the same 4.5mm thickness, erring on the side of being slightly thick.
16) Using on-tool CAD, I drew some rectangular covers that are 72mm x 44mm deep, with a corner radius of 8mm. I used calipers to make sure they would fit in the lip on the bottom of the stand before de-taping the covers, so I could make minor adjustments as needed using an offset.
----- ASSEMBLY ----
17) The last step is fitting everything together. I started by sanding the interior of the drawer slot, and the rear relief pocket in the stand, to pull out any fuzz or steps left from machining.
18) The drawer needed some slight sanding to slip nicely into the slot in the stand. Once it fit, I used a sanding block to gently blend the square front corners of the drawer to the radius of the stand's perimeter.
18) At this point, everything should dry fit together. Then you just glue the bottom cover into the bottom of the stand, and the drawer pull into the slot on the front face of the drawer.
19) Once everything is glued, you may need to sand down the cover to be flush with the bottom surface of the stand.
20) My last step for now was to give everything a nice sanding at 220 grit. I haven't used a finish yet, but since plants (and water) will be nearby, I may finish the hickory with something that doesn't change the color or texture too drastically.